Revel Big Bear Marathon Race Recap & Tips (2024)
Are you considering running the Revel Big Bear Marathon in 2024? If so and you’re looking for a little recap of what to expect, you’ve come to the right place! In November 2023, I ran the Revel Big Bear Marathon as my first marathon, and let me tell you — it was such a whirlwind experience filled with a lot of highs, lows, and bumps in the road! Whether you’re an experienced marathoner, trying to secure that Boston qualifying time, or a first-timer like I was — there’s a good chance I’ve got some information that can help make your race day run a little smoother. So with that, grab a snack or some coffee and enjoy my complete race recap and insider tips!
🚨 Disclaimer: Everything below is based on my personal experiences. I was not paid or compensated in any way for this review. That said, Revel Race Organizers — if you see this, feel free to reach out to yah girl! 😅
Revel Big Bear Marathon: The Good & the Bad
As I mentioned in the introduction, this race was quite the experience, filled with lots of positives and negatives. To avoid having this post turn into an epic wall of text, I’ve broken up this section into 4 parts. The first section will go into what you can expect to happen, both before the race and on race day. Afterward, I’ll delve into my little race recap, which will include some general positives and areas for improvement!
If there’s a certain section you want to jump ahead to, feel free to do so with the links above! Otherwise, I’ll go ahead with my recap in chronological order!
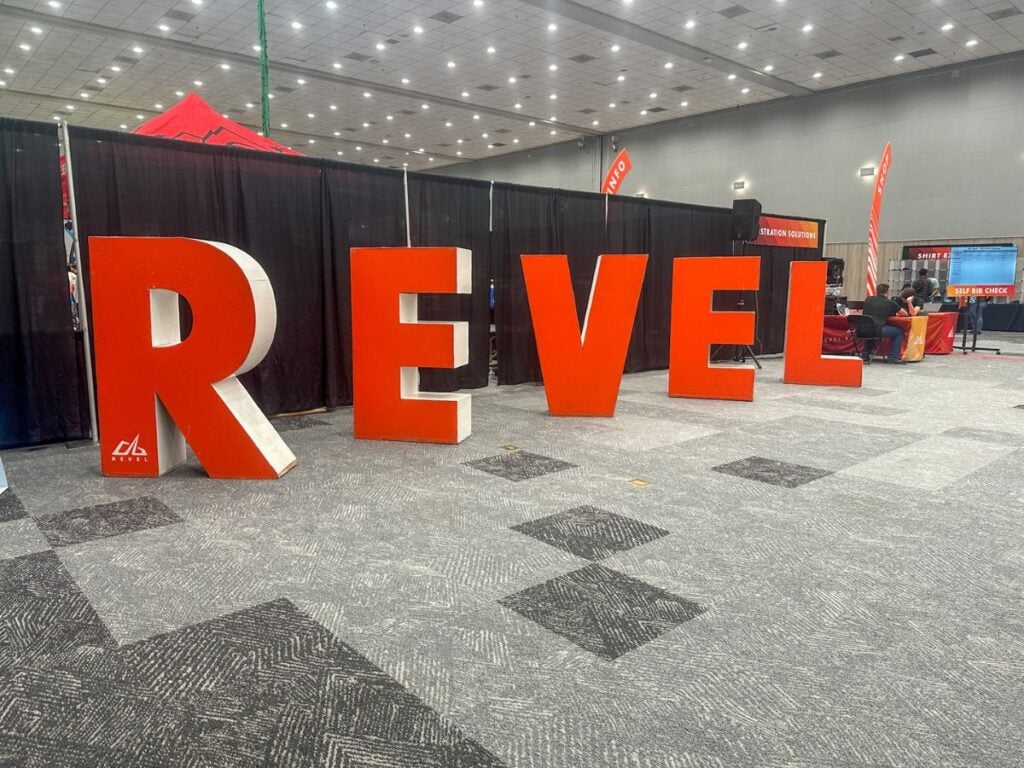
What to Expect: Before the Race
Frequent Communication
To start, immediately after signing up, you’ll receive your confirmation email. This is pretty standard based on the other 50+ official races I’ve participated in. However, a pleasant surprise was the constant communication leading up to the race. Unlike other races where they send you all the race information in one massive email about a week out from race day, Revel sends you probably 15 emails starting 2 weeks before the race. They even send you emails for a couple of days post-race.
While this could be seen as over the top, I honestly liked it. For one, emails slip by, so sending lots of emails ensures you hopefully see at least some of the updates. Secondly, the emails break the information up. Instead of having one epic email, I liked having several smaller emails with the information broken up. Of course, they do send one giant email with literally everything, but seeing the emails from Revel always made me excited and anticipate the event a little more. Thus, I saw it as a positive 🙂
📧 PRO TIP: Create a dedicated “Revel Race” folder in your email to store all these emails!
Race Expo
The expo is held at the Ontario Convention Center the Friday before the race. Unfortunately, it’s a little further away from the race finish line in Redlands, so you’ll likely need a rental car or have to take an Uber if you’re from out of town. If there’s no traffic, the drive takes approximately 20 – 25 minutes from Redlands to the Convention Center. But if you make a massive error of going during rush hour like my friend and I did, the drive can easily take over an hour 🙃. Moral of the story: Try to get to the expo before 3 PM if you can. Friday rush hour traffic sucks.
🚗 Need a rental car? I use and highly recommend DiscoverCars. They have convenient pick-up locations at Ontario International Airport and Los Angeles International Airport. They are also at Palm Springs International Airport if you end up flying into that airport.
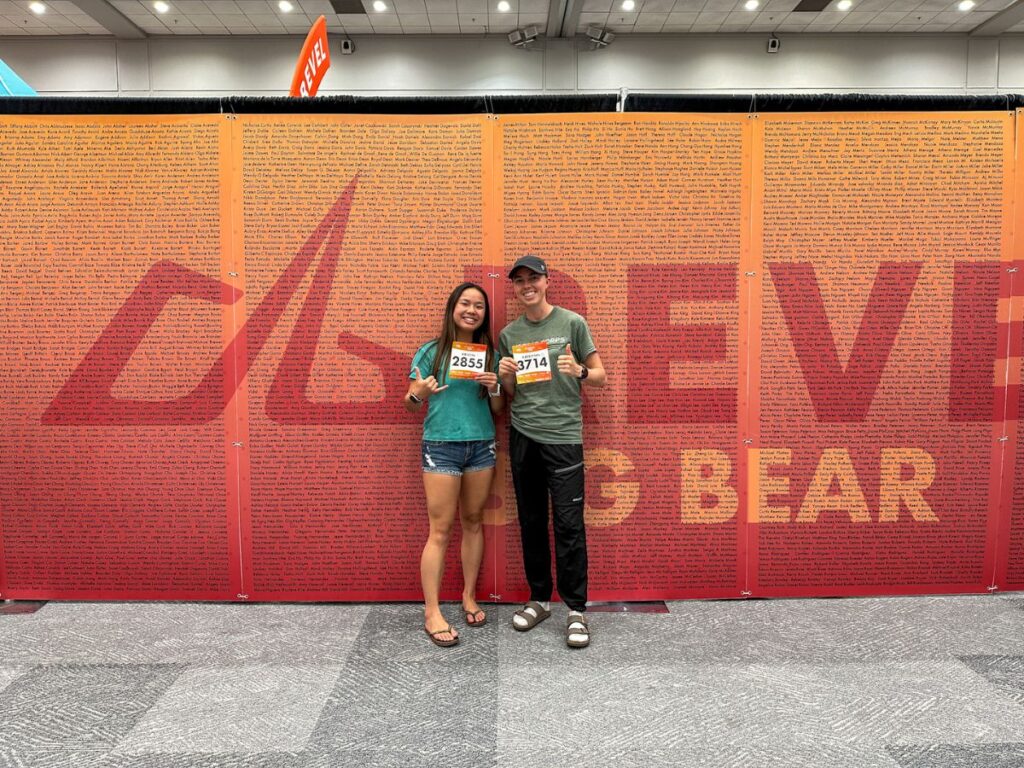
Oh, another thing, they make you pay $10 for parking in the Ontario Convention Center. My friend and I found this to be a bit ridiculous, but I think this is the Convention Center’s rule rather than Revel Race’s fault.
That said, if you sign up for my little race newsletter below, I’ll tell you how to avoid paying the $10 fee and throw in some additional helpful race tips not included in this post. 😎
Race Swag & Merchandise
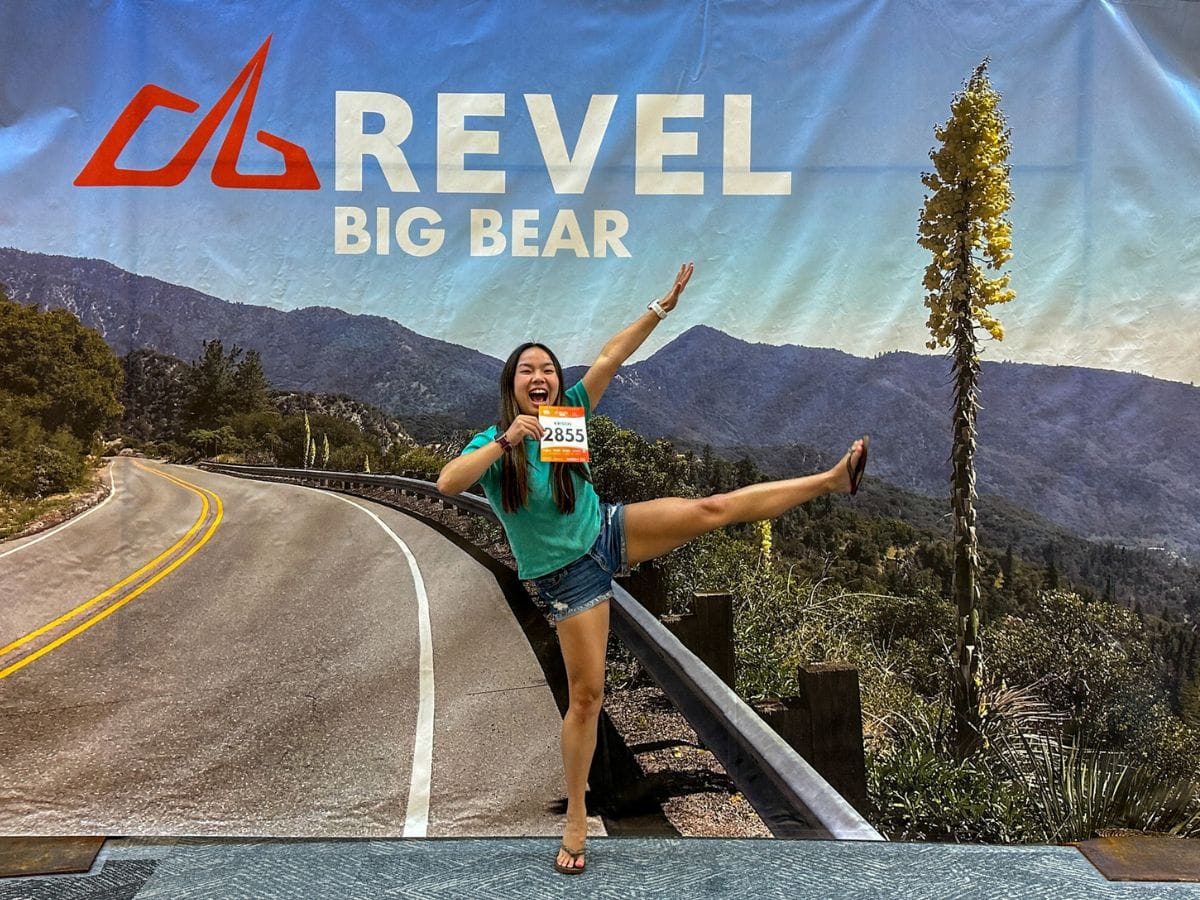
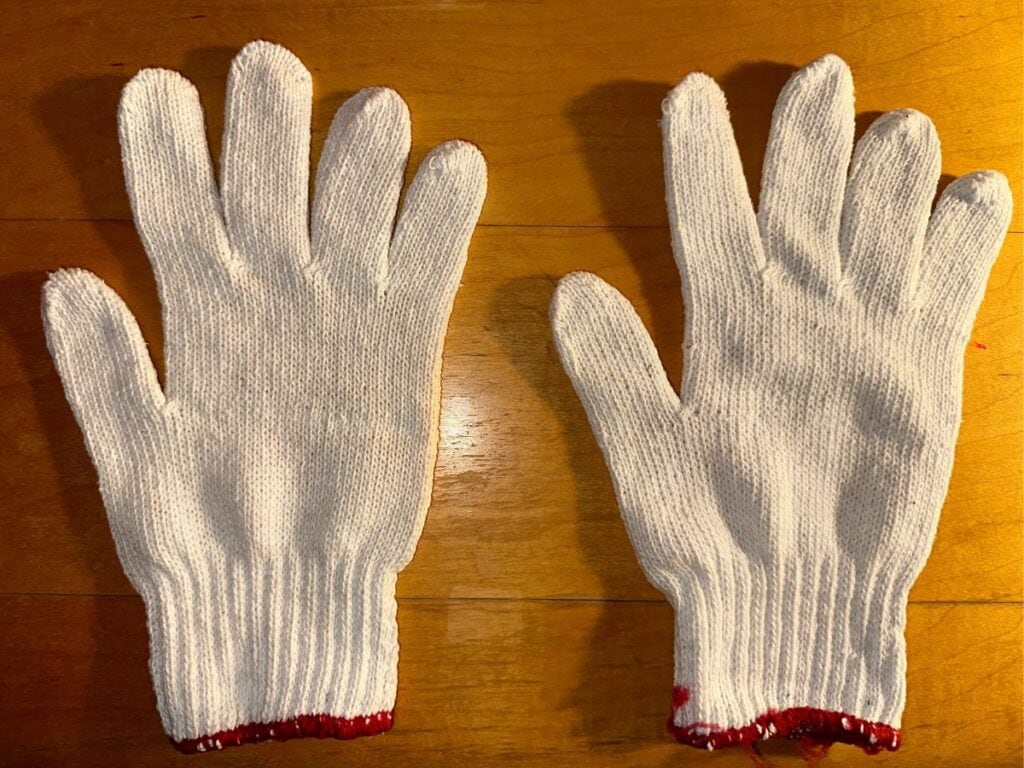
The actual expo is great! You’ll first notice all the decorations and photo opportunities to get you pumped for race day. Packet pick-up is easy and efficient, and you get some cool swag in your bag. I honestly forgot all that was included, but what I do remember is that they include race gloves! They aren’t super fancy, but they certainly make a difference if you’re sensitive to the cold or want warm hands at the beginning of the race! Plus, these are a fabulous and *free* alternative to throwing away any fancier race gloves you might have.
Some other items to expect are coupons for small businesses, some Doterra Deep Blue samples (race sponsor), and of course, your race shirt. I loved the 2023 race shirt and the fact it’s not plastered with sponsor logos everywhere.
Another noteworthy feature of the expo is the abundance of merch. I only bought a Revel race sticker, but they did offer everything from sunglasses to an assortment of Gu fuel gels, socks, bottles, running belts, hats, shirts, sweaters, and jackets. Thus, if you forget anything at home or need a last-minute pair of socks, you can likely find what you need at the expo.
Revel Race Series App
There are also the sponsor tables, which you should stop by. If you download the Revel Race App, you can type in codes from the sponsor tents and earn rewards points. These points can be then redeemed towards a future Revel Race entry!
My friend and I did this, and we earned 35 points from what took probably 20 minutes to stop at all the tables. Running the race gave us another 140 points. So, in total, we got 175 points. Entries into other Revel race series events cost 445 – 825 points, depending on the event. Thus, if you plan on running their other races or even running this event several times — it’s worth it. We all know race entries are *not* cheap!
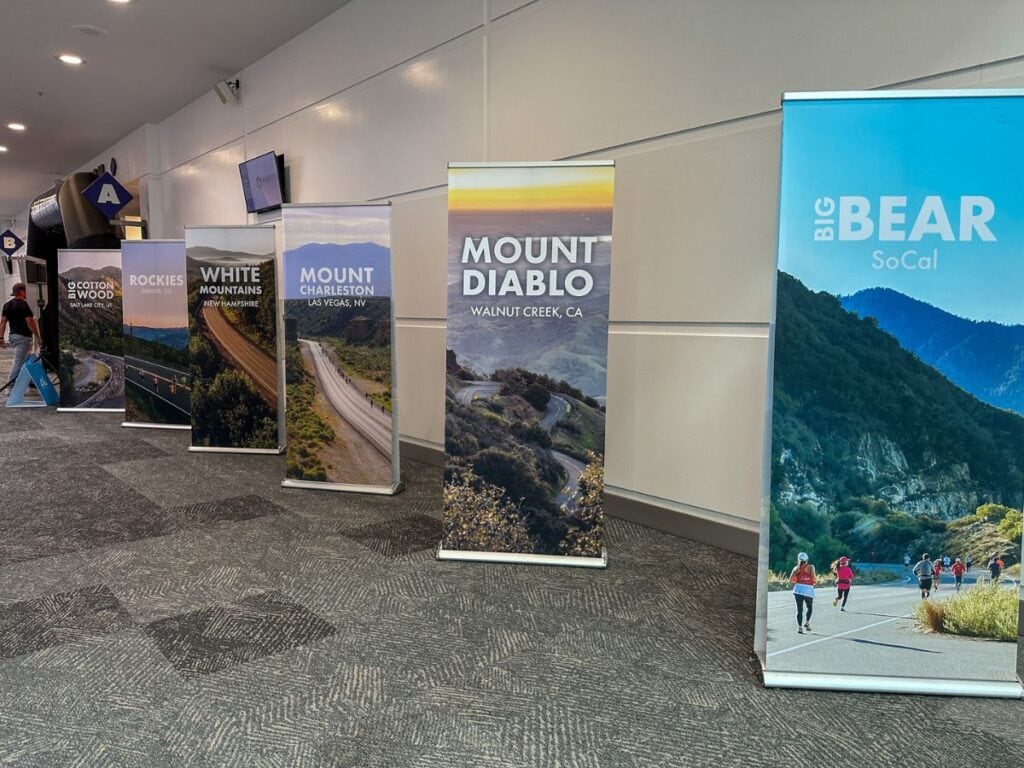
What to Expect: Revel Big Bear Race Day
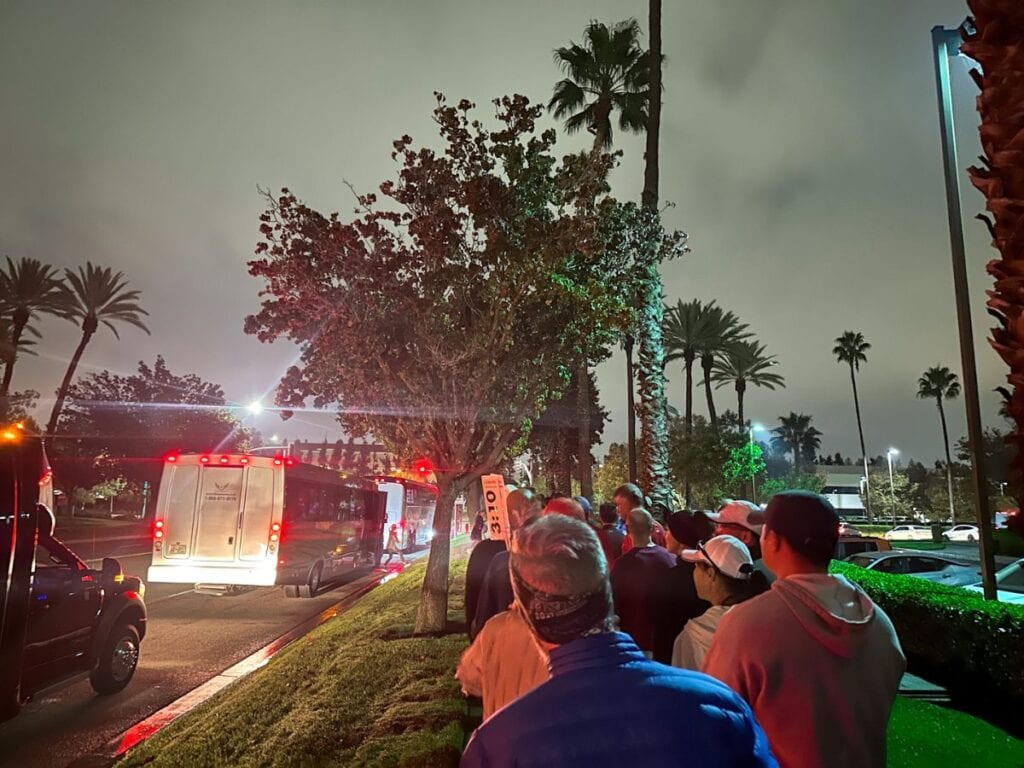
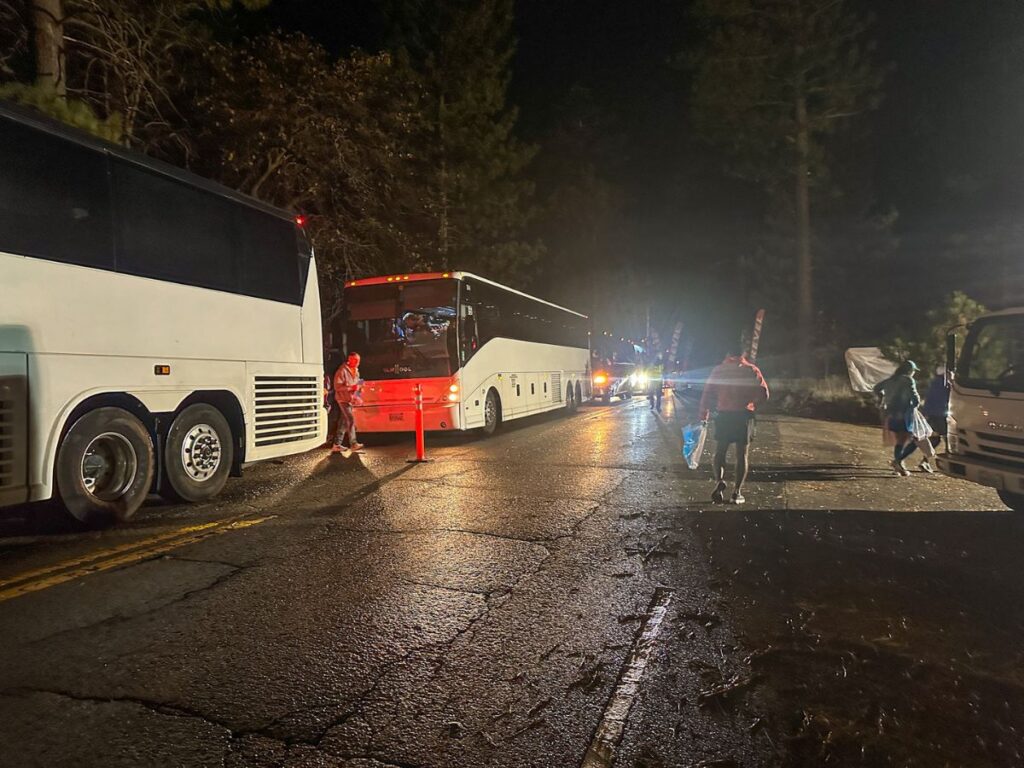
On race day, busing begins around 3:30 AM. It’s kinda chaotic and not super well-organized in my opinion. But, I’ll go into further detail about this in the areas for improvement section. The bus ride to the start takes about 1 hour and 10 minutes, so you can easily sleep on your way up. Just expect lots of turns once the bus is on the mountain.
Start Area & Bag Drop
The start area is pretty small, but given there are only around 2000 marathoners and the race is literally on a mountain, this is understandable. In the start area, there are a few rows of porta-potties. I recommend getting in line as soon as you arrive because that line grows SO fast.
Aside from changing out of your warm-ups and getting race-ready, the only thing you need to do is drop your bag off. Make sure it’s secure, and don’t store anything that you wouldn’t mind losing inside of it. I was able to retrieve my bag post-race with no problems, but it’s better to be safe than sorry. Also, the bag drop truck leaves before the race begins, so stay on top of putting your bag in the truck!
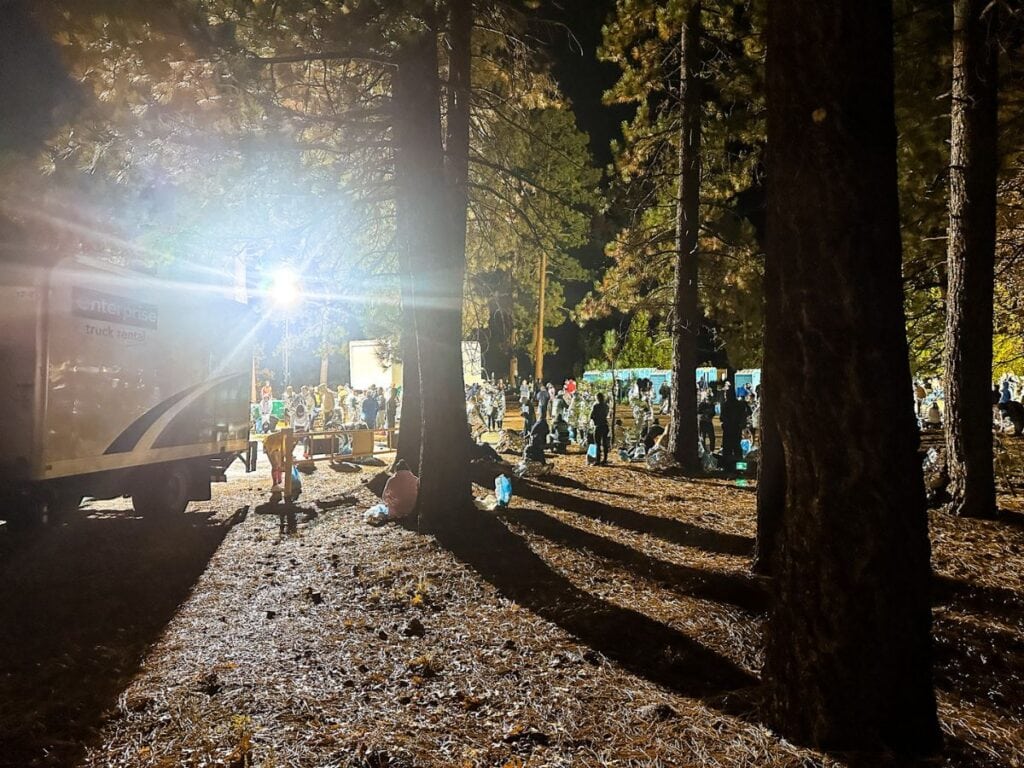
The last thing to do is head over to the start line. There are no official waves, so you can theoretically line up anywhere. That said, there are flags on the side for you to line up based on your expected finish time. Allegedly, there should be pacers within each listed time group, but I honestly only saw the 3:30 pacer at the start. I’m not sure what happened to the other pacers. Maybe they arrived on the later buses or I just didn’t see them.
But, my word of advice is to not be reliant on them to get you through the race or to reach your target time. Oh and if you plan on doing warm-ups, head to the start line early because there’s very little space to do plyometrics, strides, etc.
Course Review
Since you can easily look up the course and find all the exact metrics, I’ll talk about my experiences during the race. The first two miles flew by. Likely it was because of the adrenaline, but I was constantly reminding myself not to go out too fast and focus on hitting my target times. As for the views, it was so beautiful. The surroundings were misty and the fall colors were showing on some of the trees. It was the ideal race day setting.
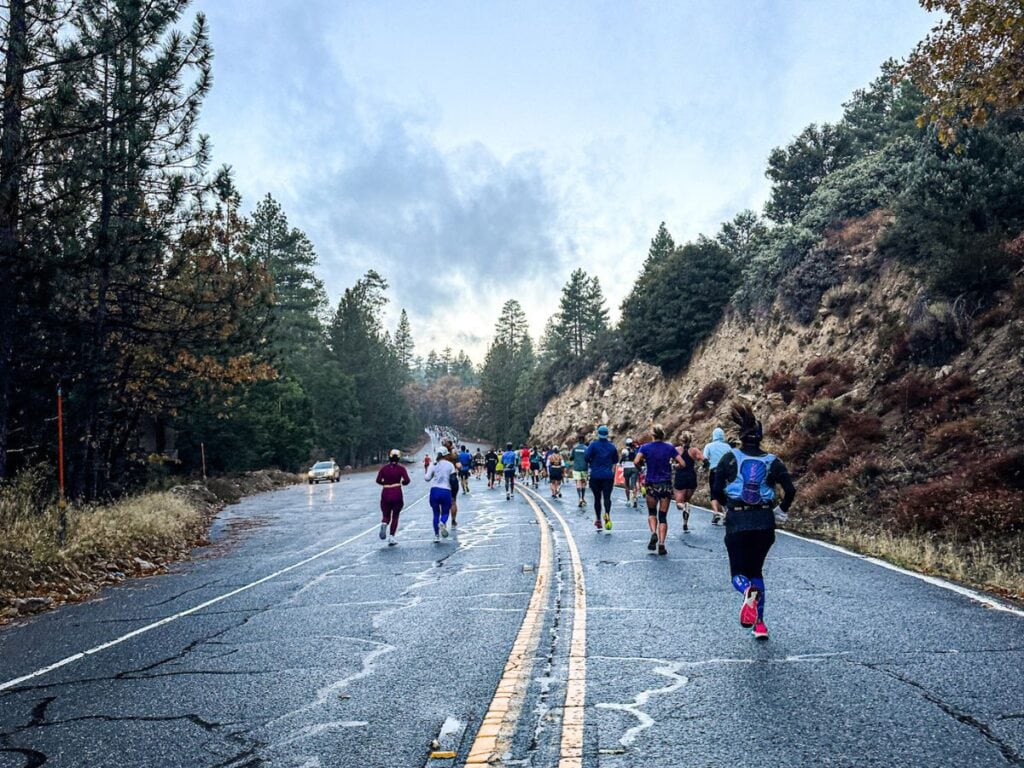
Mile 3 has the most amount of uphill running, but even the hill was over before I knew it. I think you pass under a bridge and then it’s mostly all downhill running until miles 20 – 21. Around the half marathon point, I distinctly remember being a little incredulous at how fast the race was going by, and I was still smiling over the fact that I was finally doing the damn thing!
Unfortunately, that all changed around mile 20. By then, I was hitting the dreaded wall and felt a big pop under my left foot. After that, my pace slowed substantially, I became numb to most everything and didn’t even notice the supposed small incline around mile 21. Just know that even after mile 21, you still keep going downhill. You lose around 200 ft per mile. Oh, and on the main streets, you probably have a 5-foot width of road space to run on, so it’s tight!
The Finish Venue
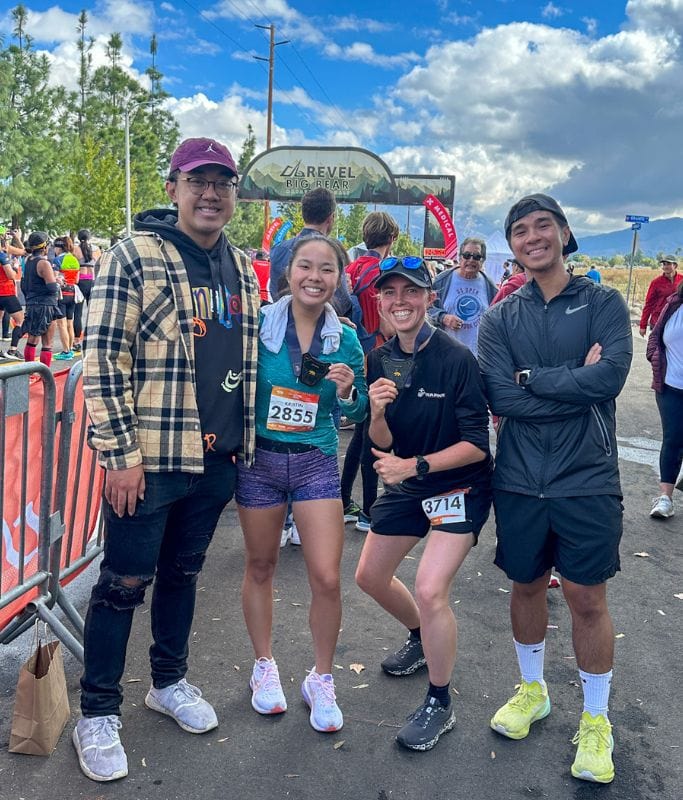
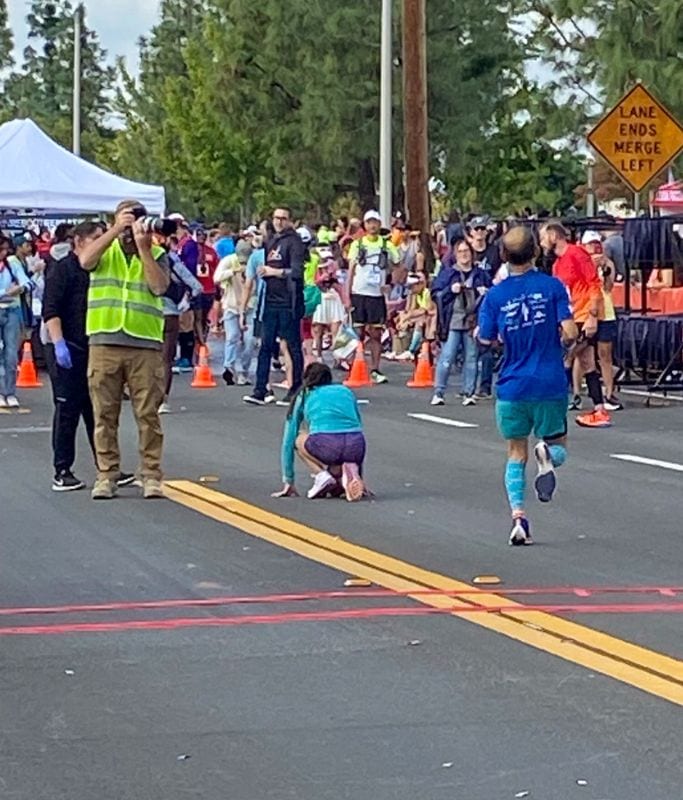
Finally, when you reach the left turn, it’s the home stretch! There’s only ~600m to go, but with the crowds cheering for you and the finish line in sight, it’s hopefully enough to power you through! For me, I immediately collapsed once I crossed the finish line. 🙃 I promised myself I could while willing my legs to carry me to the end. It’s pretty funny — my mom took a picture of me on the floor and a volunteer is asking if I need medical assistance 😂. Good times…
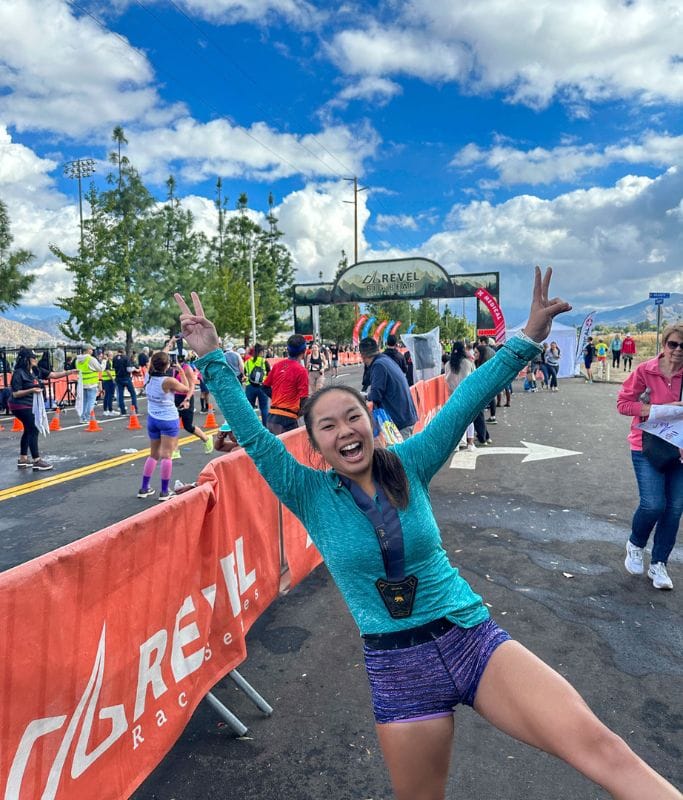
Of course, whether you’re able to still walk or have to crawl like me, you’ll receive your medal. I loved the 2023 medal and was very happy with the weighty feel to it. They also gave out brown bags with fruit snacks, a banana, pretzels, and a granola bar as well as ice-cold towels to wrap around your neck. The wet towel was something I was extremely grateful for as it was a welcome relief post-race.
Much like the expo, all the sponsor tents and tables were present, and they had the big decorations and props out, providing lots of good photo opportunities. My only suggestion is to grab your finisher card! There’s a tent where they will print your results on a nice piece of card stock. It’s at this point, they’ll also congratulate you if you made a BQ time. I didn’t manage to qualify, but over 40% of the marathoners did in 2023, which is pretty epic! 🤠
Revel Big Bear Marathon: Positives
As I mentioned earlier, some of the positives include frequent updates via email. Three other big positives from this event include their live tracking and timing, route marking, and race volunteers.
I signed up family and friends interested in following my race performance for the live texts, and they were all impressed with the execution of the live texts. They received a text after completing the first mile, my 5k, and a couple of other distances. And after crossing the finish line, they also send out a text with your stats on how you did. Maybe this is available at all the Revel races, but it was new for me and I’m a fan!
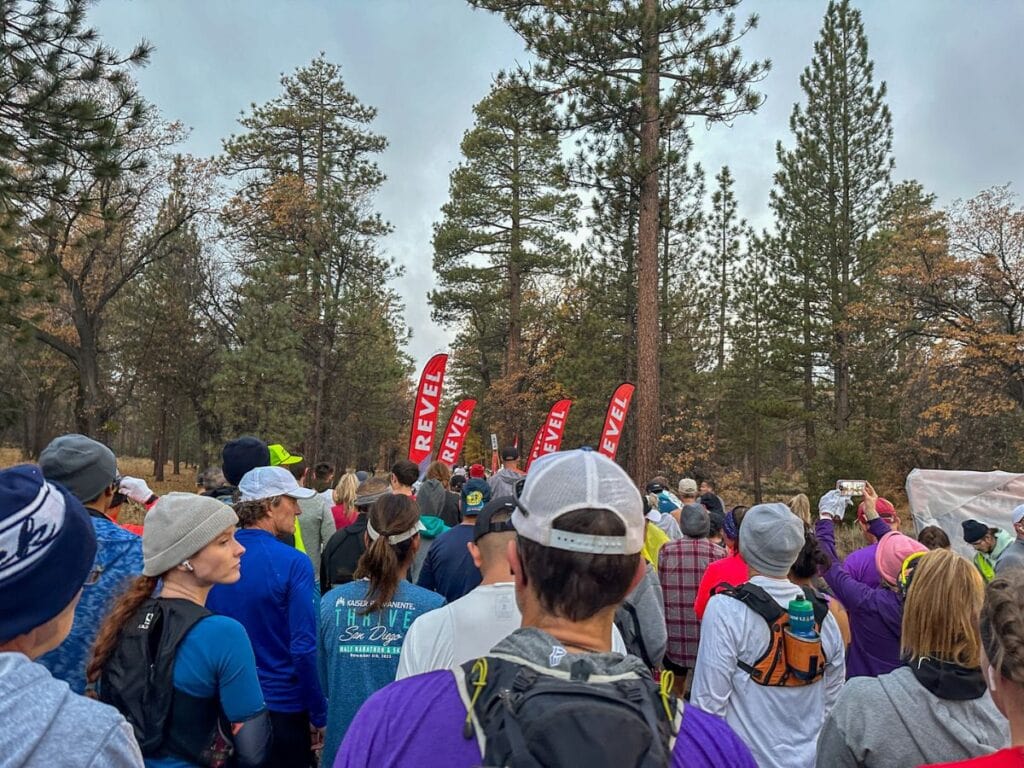
Route marking along the course was also fantastic. They had big orange banners for the marathon and blue banners for the half marathon. I saw every single mile marker and for those who may be wondering, my COROS Pace 3 watch clocked the miles about 200m before passing the actual mile markers.
Lastly, a big shout-out to all the volunteers. Although it could’ve been better with the busing situation, everywhere else was perfect! The aid stations were well-staffed as were the start and finish area. My dad even drove up the mountain the following day and said you couldn’t tell there the Revel Big Bear Marathon had taken place. So, a big thank you to all the volunteers who did an excellent job cleaning up all the stuff thrown on the side of the road!
Revel Big Bear Marathon: Areas For Improvement
Now, for the areas for improvement. There were only two main issues I encountered. The first was with the bus loading. As I stated previously, it was mayhem. They didn’t do the best job differentiating where the half marathoners and the marathoners go to line up. Thus, it was mostly groups of people wandering around a giant parking lot until we found a volunteer who knew what was going on.
Then, the actual loading process seemed pretty inefficient. After finding the correct area to line up, I think they loaded only two buses at a time. As you can imagine, the clock to race time was ticking down and the line wasn’t moving very fast… My suggestion is that they open all the bus doors (because all the buses were lined up and ready) and just let runners pile in. Then volunteers can go in and sound off how many more runners are needed to fill the bus. This would’ve been faster and prevented people from arriving late to the start area.
The second issue I had was with the aid stations. While they had signs for Nuun’s nutritional drink and water, there were no signs for Doterra’s deep blue rub. I only saw some samples in a small plastic bag at exactly one of the 12 aid stations. No one was passing them out and there was no sign. So, for me, that was a shame, but I’m also just being nitpicky. Other than that and the busing situation, the race was very well-executed and I fully intend to run it again in 2024!
10 Tips for a Better Race Experience
Since this race was my first time running a marathon and running the Revel Big Bear race specifically, you can imagine that there were quite a few areas for improvement. 🫣 I’ve already mentioned some of them above during my race recap, here’s the full list of all my recommendations for this race specifically as well as some tips to apply to any marathon! They are kinda organized chronologically, so be sure to read or at least skim through them all!
1. Downhill Training 🏋️♀️
First and foremost, I recommend incorporating some downhill training into your workout. This race differs from most other marathons in that it has a massive amount of net elevation drop. And since a downhill marathon is not the same as a flat or hilly marathon, your training for this race shouldn’t be the same. Why? Because after 20 miles of running downhill essentially the entire time, your legs and feet are likely going to be feeling the impact of the pounding they’ve been taking.
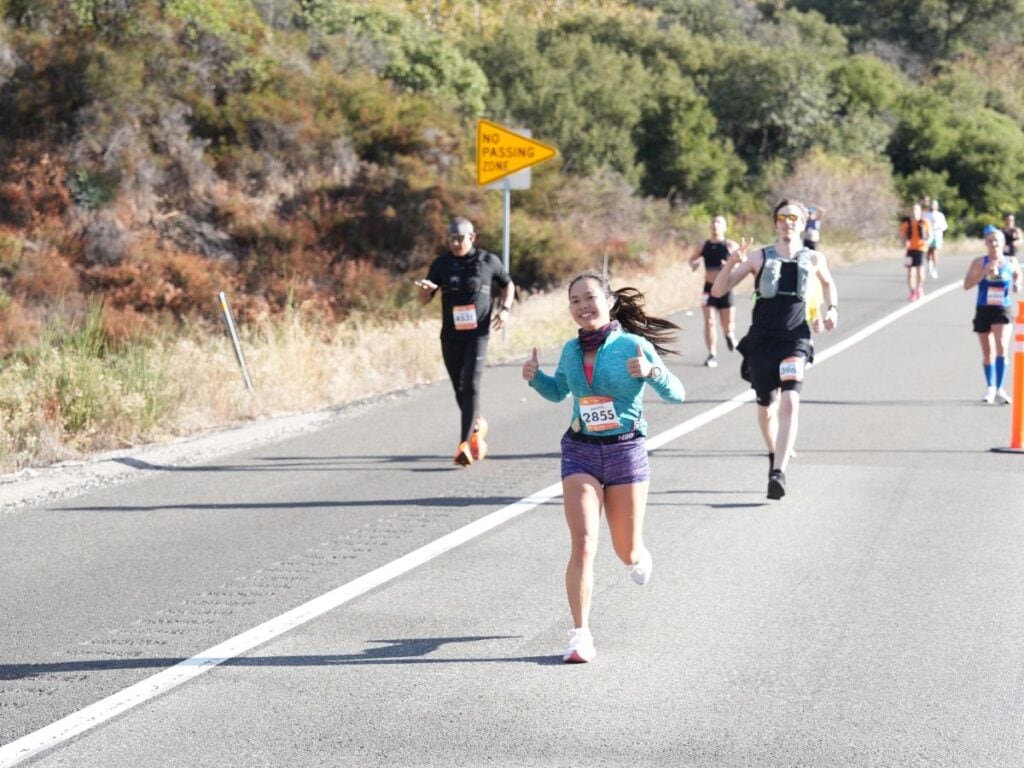
To avoid crashing and burning like I saw a lot of people doing at various stages of the race, I recommend adding at least one strength training workout per week to your training schedule. Two days is even better, but you want to emphasize those single-leg exercises since you run one leg at a time. Think of variations of weighted lunges and weighted step-ups. These exercises will help beef up the muscles in your quads and around your knees, both of which take the brunt of the force from downhill running.
2. Wear the Right Shoes and Socks 🧦
This is going to sound like a no-brainer but make sure you wear the right shoes and socks!! I made the terrible mistake of assuming that I could get away with racing in new shoes that I had logged only ~12 miles in since they were the same shoes I had done all my training in.
By mile 11, I could feel blisters forming on the ball of my foot and my toes. At mile 21, the blisters popped and it felt horrible. My pace slowed by two minutes for the remaining miles, and I missed my marathon target because of this 🙃 Don’t be like me. Make sure you wear proper running shoes that have been broken into! And just as a little FYI, if you plan on running in Nike Alpha Flys, you’ll want to run at least 30 miles in them to break them in.
Similarly, make sure you invest in a good pair of race socks. After 26.2 miles, having a good pair of socks makes quite the difference in mitigating foot swelling and your chances of blisters forming while running. I recommend socks by Balega and Bombas as they also are technically compression socks.
✅🧦 Click to purchase some Balega Socks or Bombas Socks
3. Practice Run in Your Gear 👟
One of the biggest mistakes that first-time marathoners make is testing out new gear or clothes on race day. Whether it be a running waist belt, your racing shoes, or a hat… try to do a least one practice run in everything you intend to wear on race day. And you want to do this for one of your longer, 15+ mile runs. Don’t do a test run on a short 5 miler because oftentimes, problems arise after the half marathon point.
I’ve included a link to the racing belt my dad and I love and use below. We like this one because it fits everything (phone, gels, water, keys…etc), with its many pockets and doesn’t bounce around while you’re running, which was my big requirement.
✅ Check out the racing belt I use to carry my gels and phone
4. Test out Fuels ⚡️
In a very similar vein, part of doing your practice run is simulating race conditions on the course. This means practicing taking fuels and figuring out which ones work best for you. Running fuels come in all shapes and forms — chews, blocks, gu, liquid, etc.
As I mentioned earlier, the course provides you with GU energy fuels, but you don’t want to try them out for the first time during the race. I know plenty of runners who get an upset stomach with some brands, while other brands work like magic. Truly, it’s in your best interest to figure out which fuels make you feel good as well as how often to fuel!
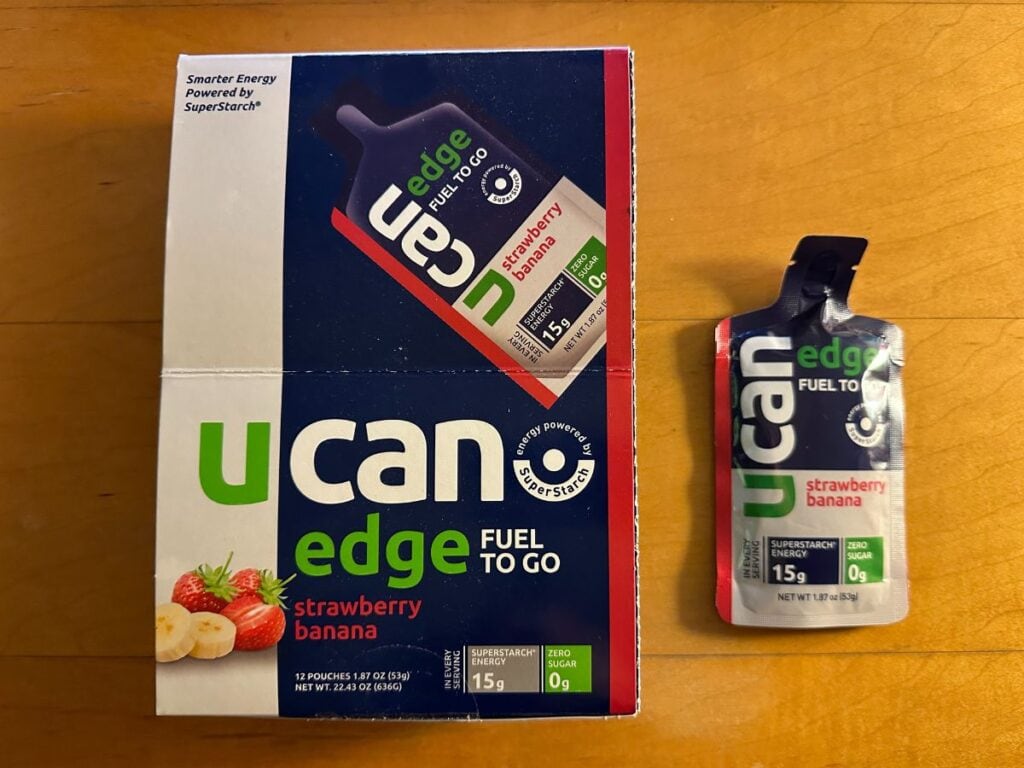
And just as a reference point — I like to fuel with UCAN gels, and I usually ingest one every 5 miles. This company is known for providing gels that do a slow release and are light on the stomach and GI tract. Thus, if you have digestion problems with other fuels, I recommend trying out UCAN gels.
5. Taper Appropriately 🔋
Another mistake that beginner marathoners make is not tapering properly. With the Revel Big Bear races having so much downhill, it’s crucial to taper correctly so your legs are as fresh as they can be. Around 3 weeks out from the race day, you’re going to want to decrease your mileage by a good amount. And for the final week, you should only be doing only light and easy runs. Think 2 – 3 mile runs!
For me, a week out from the race, I completed my last long run, which was only 8 miles. 2 weeks out my long run was 12 miles… and 3 weeks out, my long run was 20 miles. You don’t have to copy what I did, but this is just to give you an idea of how quickly your mileage should decrease with tapering.
6. Check the Weather 🌦️
A bit more obvious, but be sure to check the weather forecast. I started tracking the weather about 1.5 weeks out since there was supposed to be a storm on race day, and just knowing what to expect helped me prepare mentally. If you want to check the weather at the start line, look up ‘Big Bear Lake‘ on your phone. You can also type in ‘Angelus Oaks,’ which you’ll pass by at the 9-mile mark.
To see the expected weather at the finish line, you can look up either ‘Redlands‘ or ‘Mentone‘. It shouldn’t make much of a difference which one you pick since the finish line is very close to the border of both cities.
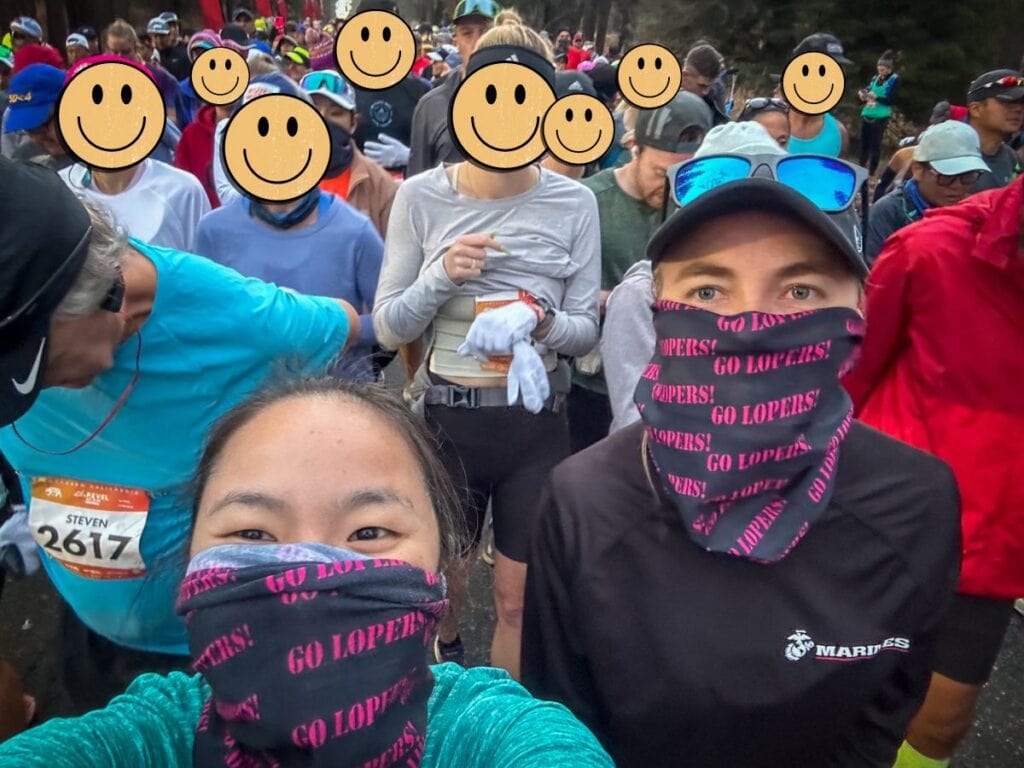
🏃🏽♀️ PRO TIP: If it’s expected to be about 43°F or below, I recommend bringing a gator to wear around your neck and face. The air temp is sometimes so cold that it burns your throat.
7. Lay out Race Gear 🏁
Everyone knows waking up at 2 AM (or earlier) isn’t exactly fun and you likely aren’t going to get the best sleep of your life. Make your life a little easier by getting everything that you possibly can ready the night before race day. This means laying out everything you want to wear, pinning your bib to your shirt or pants, figuring out your target pace/goal time, and gathering everything you want to bring with you.
I hate to admit this, but one time…my dad and I left for a race at 2:30 AM (since the race was a 2-hour drive away). Once we arrived, I made the traumatic discovery that I had left my running shoes at home 😫. Yeah, needless to say, we didn’t get to run that race and I’ve never forgotten my shoes since then.
8. Arrive to the Bus Area Early 🚌
If you recall, one of the areas that I mentioned could be improved upon is how the busing system was organized. If you want to avoid running the possibility of being left behind or arriving at the race start area right before the gun goes off, I recommend arriving at the bus area as early as possible. For context, my friend and I arrived at the busing area about 5 minutes before the scheduled start time for busing. We then did our best to be on one of the first buses out of the area.
After you arrive at the start area, make sure to go to the bathroom immediately. Even if you don’t think you have to go, just try. The line for the bathrooms grows quickly and no one likes having to waste precious time in a port-a-potty or squatting on the side of the road during the race!
9. Try to Negative Split ⏰
This next tip is a general piece of advice for anyone running a marathon as well as this specific marathon — try your best to negative split. For those who don’t know, this means you want to run the second half of the marathon faster than the first half. It may seem simple in theory (or completely daunting lol), but in essence, be careful not to go out too fast.
I know you’re probably thinking, “Oh yeah well that’s easier said than done,” especially with all the adrenaline and your legs feeling super fresh. But let me tell you, when you’ve run 21 miles almost completely downhill, your legs are likely going to feel like bricks if you go out too hard.
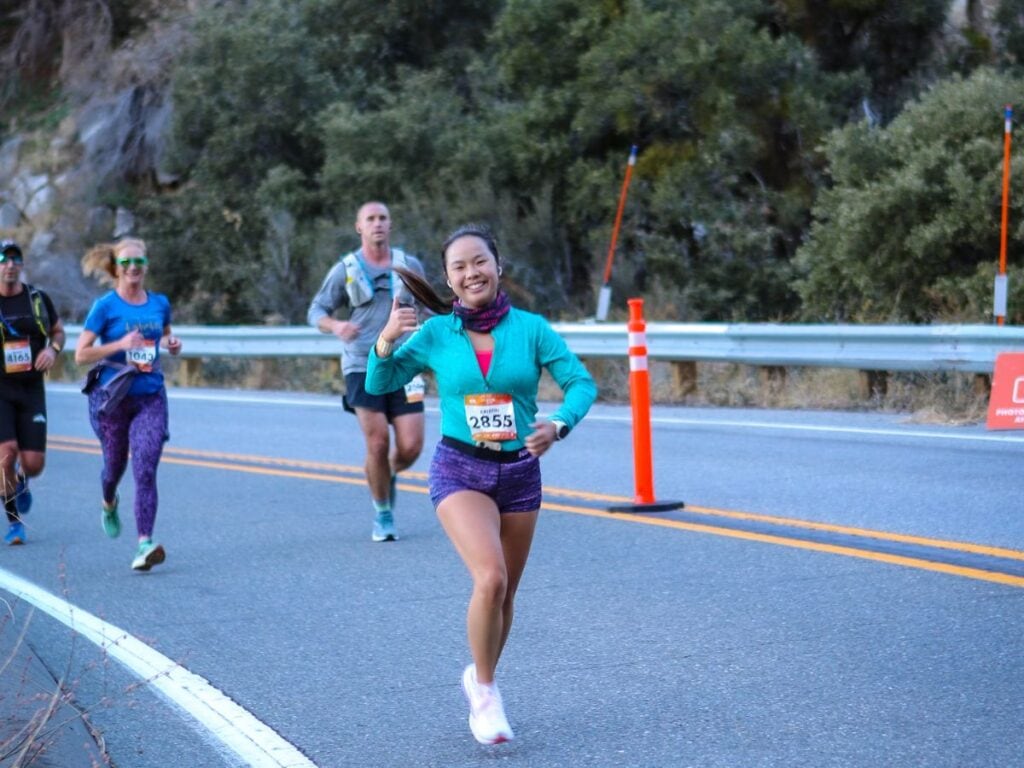
To help pace yourself, I recommend writing down the mile splits or 5k splits you want to hit during the race. Write them in Sharpie on your arm or memorize them before the race.
And if you don’t want to resort to doing that, I found some pacing strips at the race expo. They are pieces of paper that list the various mile splits to target for a particular goal time. What’s nice is that they consider the terrain of the course. For example, mile 3 is the hardest since it has the most amount of uphill. On the pacing strip, they factored this in, and mile 3 has the slowest mile split.
🚨 BEWARE: They tend to run out of timing strips for the Boston qualifying times fast, so get to the expo early if you can!
10. Have Fun! 🤠
Last, but certainly not least… have fun! I know most people don’t associate running a marathon with the word “fun,” but try to enjoy the experience too! At least during the first half, I couldn’t stop smiling because the views were gorgeous, the weather was amazing, and I was finally doing the thing I’d wanted to do for the longest time. Seriously, running a marathon had been my New Year’s resolution since I graduated high school… So, I waited almost 7 years to finally do it lol.
And even if you’re in the hurt locker and struggle bussing it through the final slog, try to remember your why. I found it can be incredibly powerful to remind myself of all the training and hard work I’d put in and why I signed up in the first place.
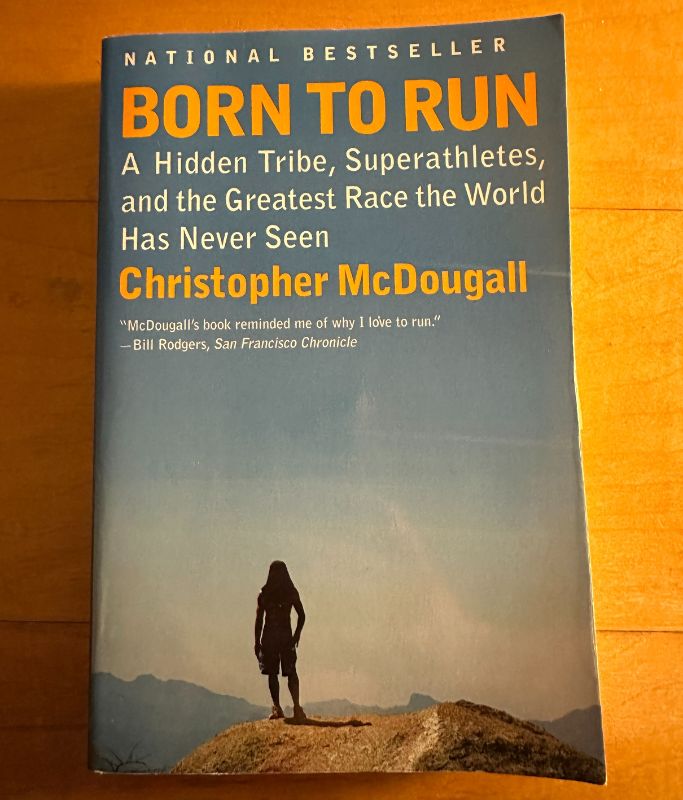
One of my favorite quotations: “You’re tougher than you think you are, and you can do more than you think you can.” — Christopher McDougall in Born to Run.
🚨 For anyone who is looking to be inspired and possibly go down the rabbit hole of learning more about a fascinating community of incredible ultrarunners, I highly recommend reading Born to Run! It also makes a great, affordable birthday gift or Christmas gift for any runner friends, or family… I would know 😅
Where to Stay for the Revel Big Bear Race
If you’re looking for housing in the area, there are a few different options! You can either opt for a classic homestay with VRBO or book a nearby hotel. Below are some 3-star hotels worth checking out! I’ve included their respective travel times (in minutes) by car from the busing area and the finish line.
Low-Cost Stays in Redlands
- Dynasty Suites — 8m from buses, 10m from finish | ⭐️ 8.7 / 10
- Comfort Suites — 8m from buses, 10m from finish | ⭐️ 8.8 / 10
- Ayres Hotel — 9m from buses, 9m from finish | ⭐️ 9.4 / 10
Mid-Range Stays in San Bernardino
- Hampton Inn & Suites — 5m from buses, 15m from finish | ⭐️ 8.4 / 10
- Hilton Garden Inn — 3m from buses, 14m from finish | ⭐️ 8.6 / 10
- Residence Inn by Marriott — 9m from buses, 13m from finish | ⭐️ 8.9 / 10
Feel free to click these buttons to head to your favorite booking platform and see additional housing options there.
You can also use this interactive map to check out various hotels in the area. The prices are current and you can enter your party size for even more accurate information. I’ve also pinned the bus area and the finish line in case you want nearby housing accommodations!
Revel Big Bear Marathon: FAQ
A Revel Race is a race optimized for speed and hitting personal best times! There are currently 6 different Revel races, and they’re all characterized by a significant amount of net downhill running. This signature aspect makes each Revel Race quite popular for achieving an elusive Boston qualifying time!
The Revel Big Bear Marathon begins in Big Bear at Grey Back Amphitheater and runs down Highway 38, which cuts through the San Bernardino National Forest. You then will run the final few miles on city streets, until you reach the Redlands Sports Park. If you’re curious about what to do during your stay in Redlands, check out my local guide! Below is a picture of one of my favorite spots in Redlands…
For 2024, the Revel Big Bear Marathon is scheduled for Saturday, November 16, 2024.
Throughout the year, there are discounts available for the Revel Big Bear Marathon…these normally show up via their email lists.
Since all Revel races are net downhill by at least a few thousand feet, I recommend incorporating a good amount of downhill running in your training. Furthermore, you’ll want to aim for 1-2 strength training sessions per week to help strengthen your quads and calves, which take a hefty beating on these courses.
Final Thoughts: Revel Big Bear Marathon
Overall, whether you’re doing the marathon or half marathon, I think the Revel Big Bear Marathon and half marathon are fantastic. Sure, some areas could be improved upon, but for the most part, I think the event was well organized and executed. And from a personal standpoint, I am walking away with lots of good memories, especially for my first marathon!
As always, if you have any questions concerning the event, feel free to contact me and I’m happy to answer any questions to the best of my abilities. Fill out the form below for exclusive tips, to grab my free Revel Big Bear Marathon checklist, and to keep up to date on my community shake-out run for 2024!
Explore Southern California
🏄♀️ San Diego: San Diego is easily one of my favorite places in the entire world. From an amazing foodie culture to the miles of gorgeous beaches that are perfect for surfing… it’s a city that just feels like paradise! Click any of the links to learn about getting around the city, a truly unique activity available, or even a recap of the La Jolla Half Marathon, which I’ve done several times in sunny San Diego!
🌴 Palm Springs: Located just over an hour away from Redlands, this desert oasis is full of outdoor excursions! For example, my family loves visiting the Living Desert Zoo. There’s also the annual Indian Wells tennis tournament, which brings the best of the best tennis players to compete against one another 👀
