41 Useful First Time Flyers Tips: How to be Prepared (2024)
Whether you’re flying for the first time with your family, friends, or solo, navigating an airport can be both incredibly exciting and stressful-inducing. However, the most important thing to remember is that we’ve all been there at some point in our lives and it’s going to be okay! To make sure your experience is as smooth as possible, here are my 41 best first-time flyers tips for everything from searching for flights to getting off the plane at your final destination.
Traveling Soon? Here Are the Travel Resources I Use!
🏡 Accommodations: I use Expedia or Booking for hotels and Hostelworld for hostels
✈️ Flights: I find the best deals on StudentUniverse & Skyscanner
🗺️ Travel Insurance: I suggest Safetywing as an affordable option
🤿 Tours & Experiences: I love to use Viator and Get Your Guide
🚗 Car Rentals: I recommend DiscoverCars for all your rental car needs!
📱 E-Sim: The company I’ve had the most positive experiences with is Airalo
Use code ‘KRISTI7012’ for an extra $3 off your ESIM from Airalo!
41 Useful First-Time Flyers Tips (2024)
The first step of every airport journey is booking your flight. Two flight search engines I highly recommend are Skyscanner and StudentUniverse. If you haven’t heard of StudentUniverse, you can read my in-depth review of StudentUniverse to help you decide whether you want to use it.
1. Check Airline Luggage Restrictions
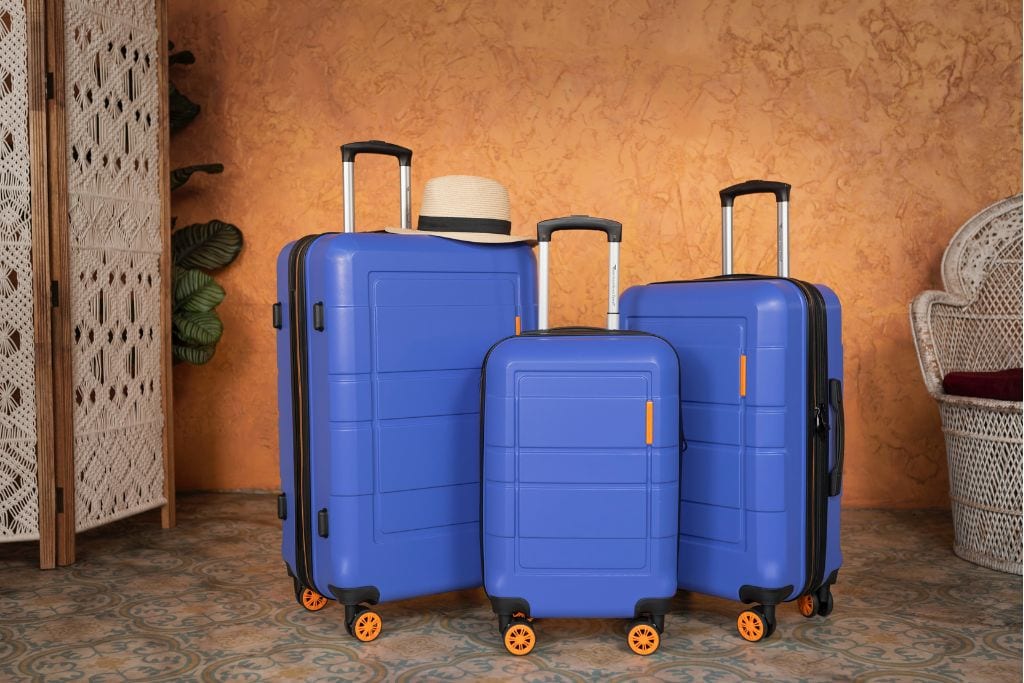
As you shop around for the best flight tickets, it’s important to always check the airline’s luggage policies. Being aware of the restrictions and ensuring your luggage is compliant both in terms of size dimensions and weight limitations will help you avoid any unwanted surprises or fees.
The first time I solo-traveled, I didn’t think to do this because I genuinely thought that there were universal sizes for carry-on and checked suitcases. I mean, you think this would be the case!? Unfortunately, I found out by way of a surprise $100 added fee that this was not the case.
Thus, do yourself a favor and check luggage restrictions and weigh your bag at home! Trust me, it’s better to spend a few minutes searching for a tape measure and scale in the back drawer than handing airport staff your credit card 🙃
🧳 PRO TIP: If you’re flying with more than one airline, be sure to check the luggage policies of each airline! Budget airlines are notoriously strict!
Quick Guide to Luggage Sizes
- Personal bag or item: Typically a small purse, handbag, or school-size backpack that can be stored underneath the seat in front of you. There is no weight limit for your personal bag, unless otherwise specified by the airline.
- Carry-on bag or hand baggage: A smaller suitcase or duffel bag that can be stored in the overhead bins near your seat. Some airlines have no weight restrictions for carry-on bags, while others have strict limits. The main thing to remember is that you must be able to lift the bag into the overhead bin by yourself.
- Checked baggage or hold baggage: Large suitcases or pieces of luggage that must be weighed and checked in by airport staff. You won’t have access to checked luggage throughout the flight nor will you take checked bags with you through airport security. Most airlines have a weight restriction of 23 kg or 50 lbs for checked luggage.
2. Make Your Luggage Identifiable
On your carry-on bag and any checked bags, I recommend attaching a luggage tag that has your contact information. These are helpful if you get separated from your luggage and can be great identifiers when you’re picking up your checked bag from baggage claim.
With all the madness in the travel industry, a little travel hack is to place an Apple Air Tag inside your checked bag. Airports have been in absolute chaos as of late, so this is one way to get the most up-to-date information on your bag’s whereabouts. Plus, if the airport claims to have lost your checked luggage, you can show them your bag’s location using the Apple Air tag, and this can expedite the retrieval process.
If you don’t have a dedicated luggage tag or Apple Air tag and don’t plan on buying one, I suggest putting a piece of paper with your contact info inside your luggage. Just make sure it’s easy to find.
✅ 🧳 Check rates for apple a single Apple Air tag or a pack of 4 Air tags here
3. Place Important Travel Documents in Folder
One travel tip that I wish I had discovered back when I was a first-time flyer is to use a school folder to keep all my important documents together. I always print and place my housing accommodations paperwork, travel insurance papers, flight info, and any other documents in a nice folder.
While it may seem silly to do this when we have smartphones, your phone can be unreliable when you’re in a foreign country and don’t have stable Wi-fi. Furthermore, being organized and knowing where things are is one of the best things you can do to alleviate any airport anxiety. Remember, success favors the prepared…and organized!

4. Exchange Currency in Advance
If you are traveling abroad to a location with a currency different from your home currency, I strongly recommend exchanging currency at least 3 weeks before your trip. This is because foreign exchange rates at airports and abroad are typically worse than your local home bank. And even in the age of travel credit cards, it’s always a good idea to carry a little bit of cash on you in case of emergencies. Plus, small vendors and taxi drivers oftentimes only accept cash.
In general, I recommend getting $100 USD worth of foreign currency per week you’re traveling. When you request money from your bank, it usually takes anywhere from 3 days to 2 weeks to arrive via mail. Thus, make sure you give yourself ample time!
First Time Flyers Tips: Travel Essentials to Pack
When it’s a couple of days before your trip, it’s time to start packing! Here are some travel essentials I bring every time I fly and encourage you to as well.
5. Bring a Portable Luggage Scale
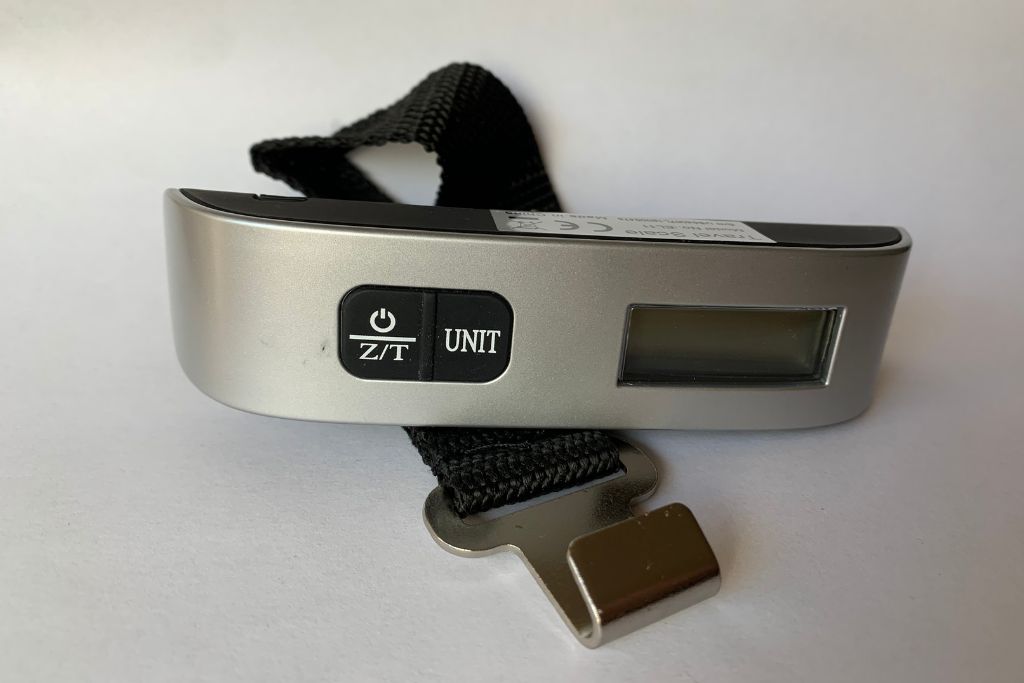
With so many different weight restrictions across various airlines, it’s all too easy to accidentally overpack or bring a few too many travel souvenirs home. Something that’s been life-changing for my travels is carrying a portable electric luggage scale. They are super light, easy to use, and help keep you in check. I find them to be especially worth it if you plan on traveling to several destinations in a single trip. Gone are the days of added fees because of overweight bags. 😅
✅ 🧳Check out the portable electric luggage scale I love to use and highly recommend.
6. Stay Hygienic
With COVID-19 and new variants cropping up seemingly every 6 months, it’s better to be safe than sorry. I recommend bringing a small travel-sized bottle of hand sanitizer and a pack of anti-bacterial wipes. Airports and planes are quite dirty with the amount of foot traffic they get. Therefore, I like giving myself a little bit of peace of mind by wiping down the seat tray before I set anything that’s mine on it. Furthermore, travel-friendly hand sanitizer is a way to clean up if you don’t want to disturb your seatmates to get to the bathroom.
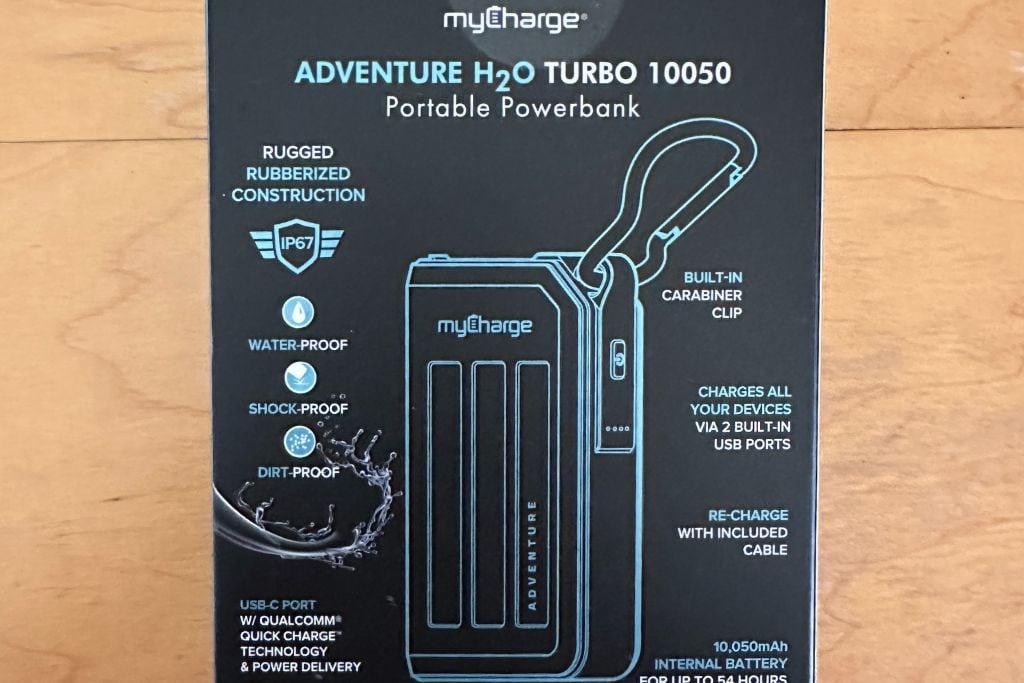
7. Pack a Portable Battery
One thing that I have found to be incredibly useful over the years is a portable battery for my phone. There have been so many times when I’ve shown up at the airport, and the outlets don’t work. In turn, I spend the entire time trying my best to save my phone’s battery. Plus, some airplanes don’t provide you with outlets, such as those running shorter flights.
The worst thing is arriving at a foreign destination and not being sure if you’ll have enough battery power to last until you reach your housing accommodations. Been there, done that. 🙃 Remove the added stress and anxiety of low batteries by investing in a good portable battery.
✅🔋 Check out the sturdy & adventure-proof portable battery that I use and recommend 🤠
8. Invest in a Travel Pillow
For those longer flights or any flight that you might fall asleep on, it’s so worth investing in a travel pillow. I used to do 10-hour flights without a travel pillow, and even when I had a window seat, I would wake up feeling like death. Sometimes, my neck would be in pain for a couple of days after the flight due to my head whiplashing forward so many times. The lesson learned is to save yourself the pain and get a travel pillow. Your neck will thank you later, and you can use it for car rides, train rides, or pretty much anywhere you might fall asleep.
9. Pack a Light Jacket
Even if you’re headed to a hot and sunny destination, I recommend always carrying a light jacket in your personal bag or backpack. Airplanes get pretty chilly if they’re blasting the air conditioner. If nothing else, they make a decent pillow if you don’t have a proper travel pillow. That being said, your jacket likely can’t keep you warm and serve as a comfortable pillow.
10. Bring Headphones
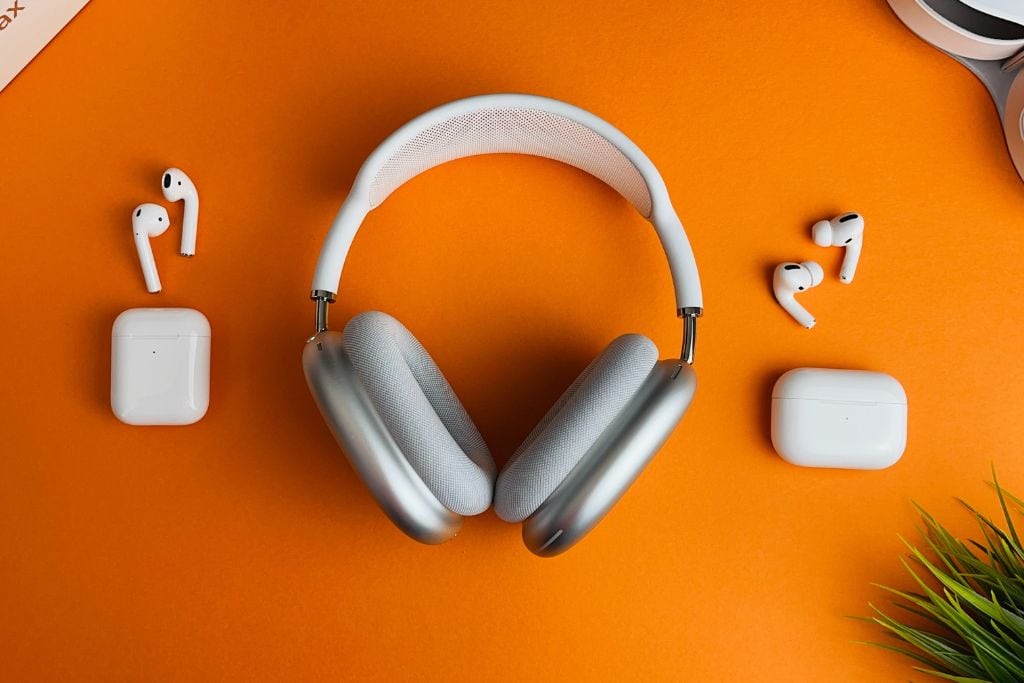
One of my most valuable first-time flyers tips is to always bring headphones or earplugs. If you have noise-canceling headphones, that’s even better. On nearly every flight, there is inevitably always at least one screaming child who makes sleeping a struggle. It’s during times like these you’ll want something to dim the noise, especially if you’re already anxious about flying.
Recently, I was on a flight where I kid you not, there were 30 children under the age of 5 on the flight. Literally over a fourth of the passengers on the flight were small children. Never in my life had I been so grateful to have canceling headphones. Heck, even when I’m not trying to sleep, having headphones to block out the external noise from the airplane itself makes the flight experience more enjoyable. Thus, I strongly recommend packing something to help block out the noises.
✅🎧 See if AirPods Pros are worth it for you here.
11. Stay Hydrated
A must-bring item is a reusable water bottle. One of the effects of flying and being at a high altitude is dehydration. Thus, it’s crucial to make an effort to stay hydrated. You can’t go through security with any liquids in your water bottle, so make sure you drink everything or empty it before you head inside the airport. After going through security, I recommend immediately finding a water fountain to refill your bottle up. This way, you won’t forget to do it later and can relax once you reach your boarding gate.
12. Bring Snacks for Provisions
Another tip for first-time flyers is to bring a couple of snacks. For example, I always try to pack a few granola bars, a sleeve of crackers, and some grape mentos to chew on. Oddly specific I know, but the grape mentos from Japan are superior. 😅 Anyway, having snacks also comes in handy if your flight is delayed, and you don’t want to pay for overpriced airport food! Just keep in mind that if you’re flying internationally, you may have to declare some food items. If you bring anything that isn’t allowed into the country, like fresh fruits, border control will likely have you throw them out.
✈️ NOTE: Don’t forget to pack some gum to help pop your ears during the flight!
13. Personal Entertainment
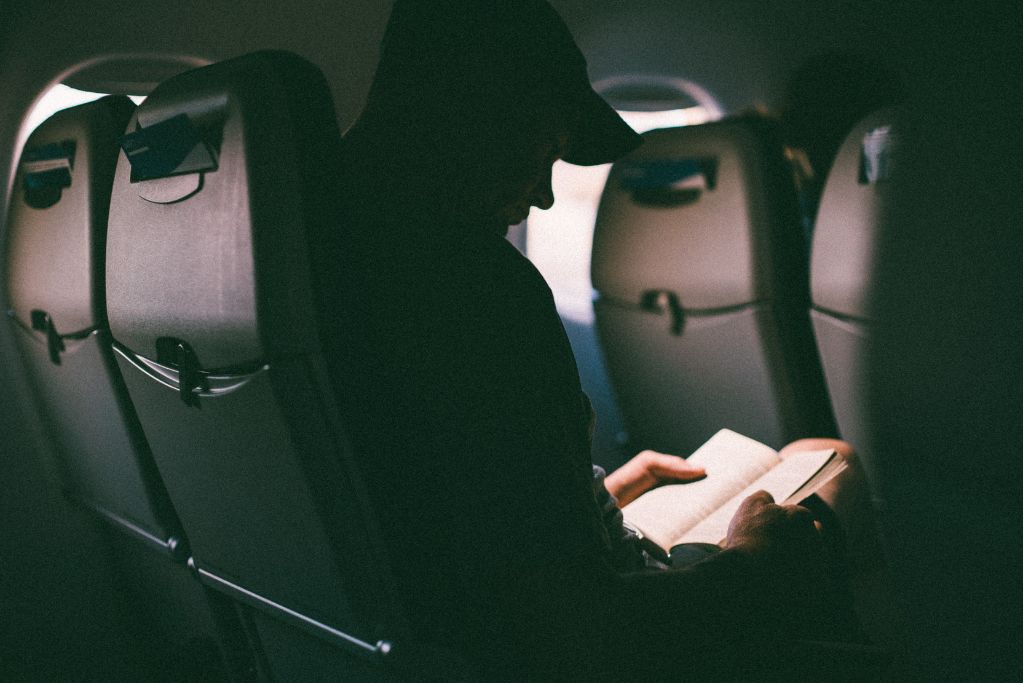
Since not all flights provide in-flight entertainment, I recommend bringing something to help you pass the time. For instance, I like to download 5 or 6 shows from Netflix as well as an audiobook onto my phone at home. Don’t rely on airport Wi-fi to download large files because airport Wi-fi is often slow or has a time limit before they ask you to pay. The worst is when you can connect to the Wi-fi but don’t have internet access, so it feels like quite the tease. To avoid the struggles of airport Wi-fi, just assume that there is none. That way, you’ll be pleasantly surprised if it actually works!
What to Do the Day Before Departure
When it’s the day before your flight, I have four first-time flyers tips to ensure everything is ready to go!
14. Check in Online in Advance
A couple of days before your flight departs, your flight provider will often send you an email reminder or two. At this time, I recommend setting an alarm on your phone to go off exactly 24 hours before your flight departs. This is when most airlines allow you to check-in, and you want to check in as soon as possible. There are 3 possible benefits of doing this: First, you’ll likely receive a more favorable boarding time. Typically, passengers are assigned boarding groups (or zones) based on reward status and check-in time. The earlier you check in, the earlier you get to board.
An earlier boarding time also means you’ll have an easier time getting settled in your seat and finding space in the overhead bins for your carry-on bags. If you’re in one of the last boarding groups, overhead bin space becomes limited and you may be forced to store your carry-on bag somewhere far from your seat. In turn, retrieving your carry-on bag can be a massive hassle and take more time.
The last reason to check in early is that you may be able to select your seat preference at no additional cost. Normally, you have to pay extra for a specific seat. However, a little travel hack is that if you check in immediately, some airlines let passengers without seat preferences pick their desired seat. Knowing where you’ll be sitting can help reduce stress, especially if you know you want an aisle or window seat.
15. Send Flight Information to Family
After you check-in, it’s always a good idea to send your flight information to a trusted family member or friend. This way someone outside your travel group knows what your general travel plans are and approximately where you are supposed to be at certain times. For example, I always email my parents my flight number and flight departure/arrival time for every flight I take. Even though there is nothing they can do if something unexpected happens, at least they can track the flight and stay informed. Plus, it adds an extra layer of peace knowing someone is looking out for you.
📝 PROTIP: I highly recommend the app Notion for trip planning as it allows you to seamlessly share your travel information with trusted people. Additionally, the app updates in real-time, so all parties can see any changes made to your itinerary.
16. Take a Screenshot of the Ticket
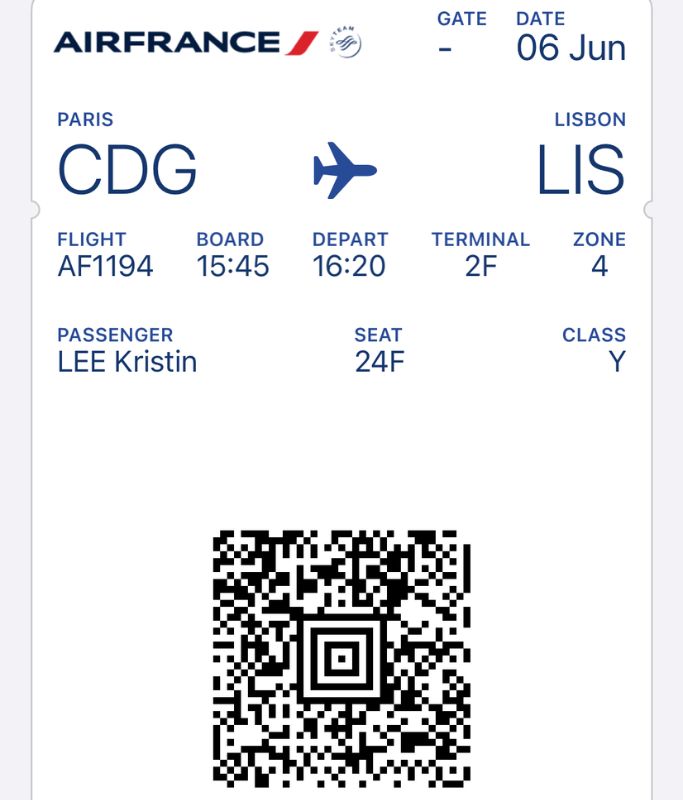
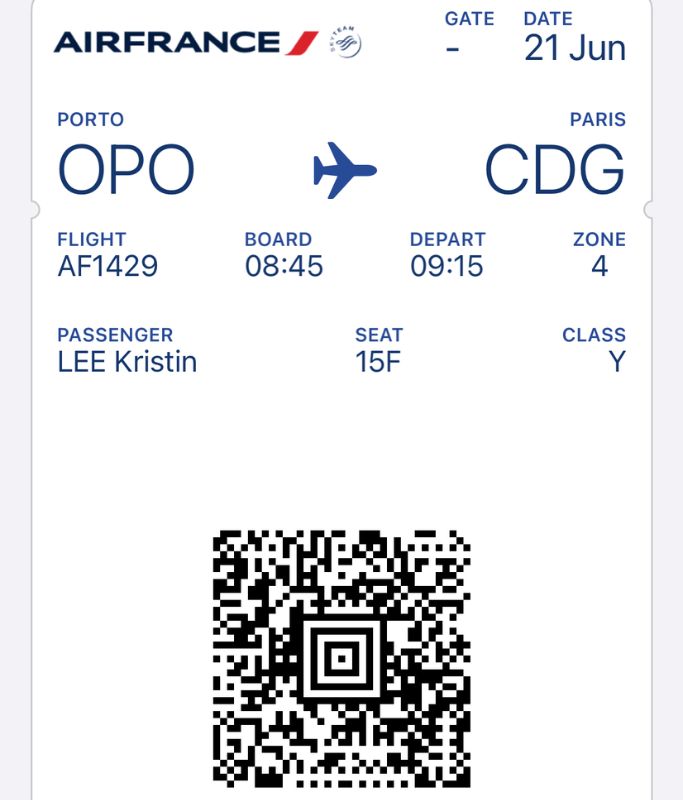
Another first-time flyers tip is to always take a screenshot of your ticket. If the airline sends you your boarding pass online, be sure to take a screenshot to ensure that you have it handy in the event you can’t load your email. Remember that airport Wi-fi can be finicky, and you don’t want to accidentally hold up any lines.
17. Know Your Backup Plan
The last thing you should do the day before leaving is make a backup plan. In the hopefully unlikely event something happens, such as your flight being canceled or heavily delayed after you’ve arrived at the airport, come up with a plan of action.
It can be anything as simple as making a note on your phone of the customer service number or deciding to hunker down at the airport. Merely knowing what the first step is in the event something unexpected happens will help you remain calm as you evaluate your next step.
TSA Tips for First-Time Flyers
Part of the airport security process is having your body checked as well as examining the items in your carry-on bag and personal bag. In my opinion, this is the most dreaded and stressful part of flying. There are usually lots of people, TSA agents are often yelling, and I just want to get through as fast as possible. To make sure you’re prepared and minimize the chances of being yelled at by TSA agents, here are a few first-time flyers tips on things you should do before you leave for the airport.
18. Wear a Comfortable Outfit
First, you’ll want to make sure you’re wearing something comfortable for the duration of your flight. Whether this means jeans, shorts, or sweats, the main thing is that you feel good in them, especially if you have a long-haul flight. No one likes to sit in the same position for long periods while wearing restrictive clothes. And if you want to dress to impress someone waiting for you on the other side, remember that you can always change in a bathroom immediately after deplaning at your destination.
Another thing to consider is that the more accessories you wear, the longer it will take for you to go through the TSA security checkpoint. I usually keep it simple and opt to wear some sweats, a regular T-shirt, and a light jacket.
19. Easy to Remove Shoes
Similar to the point above, it’s recommended you wear shoes that are easy to remove. At nearly every airport I’ve been to, TSA staff will ask you to remove your shoes before you walk through their giant scanners. You don’t want to get flustered because people behind you are getting impatient while waiting for you to remove your shoes.
I also highly suggest wearing socks with whatever shoes you pick. If you wear sandals, just know you’ll have to walk around barefoot, and airport floors are disgusting. Additionally, there’s a good chance your shoes will get stepped on or rolled across by at least one person’s luggage, so bear that in mind as well if you choose to wear your best sneakers.
20. Place Liquids in a Plastic Bag
Part of TSA guidelines is that any liquids, such as shampoo, lotion, and contact solution, must fit in a quart-sized plastic bag. In addition, each item can’t be more than 3.4 fluid ounces or 100 mL. To expedite the process, I recommend putting all your liquids in a clear quart-sized plastic bag before you leave for the airport.
If you wait until to do this at the airport, you run the risk of having anything that doesn’t fit in the bag thrown away or confiscated. I also suggest storing your liquid bag near the top of your personal bag. You don’t want to have to unpack everything in your carry-on or spend excessive time searching for your liquid bag.
🧴 PRO TIP: I highly recommend using TSA-compliant reusable travel bottles to store your shampoo, conditioner, and cleansers. They help reduce plastic waste and are awesome!
21. Check TSA Guidelines
Double-check that you aren’t accidentally bringing something onto the plane that isn’t allowed. If you do, your bag is isolated from the rest of the bags and inspected by a TSA agent. Depending on how busy the airport is, this can take up quite a bit of time. It’s always better to just show up prepared and get through security as fast as possible. If you aren’t sure if your bags are TSA compliant, check TSA’s hefty list of what is and isn’t allowed.
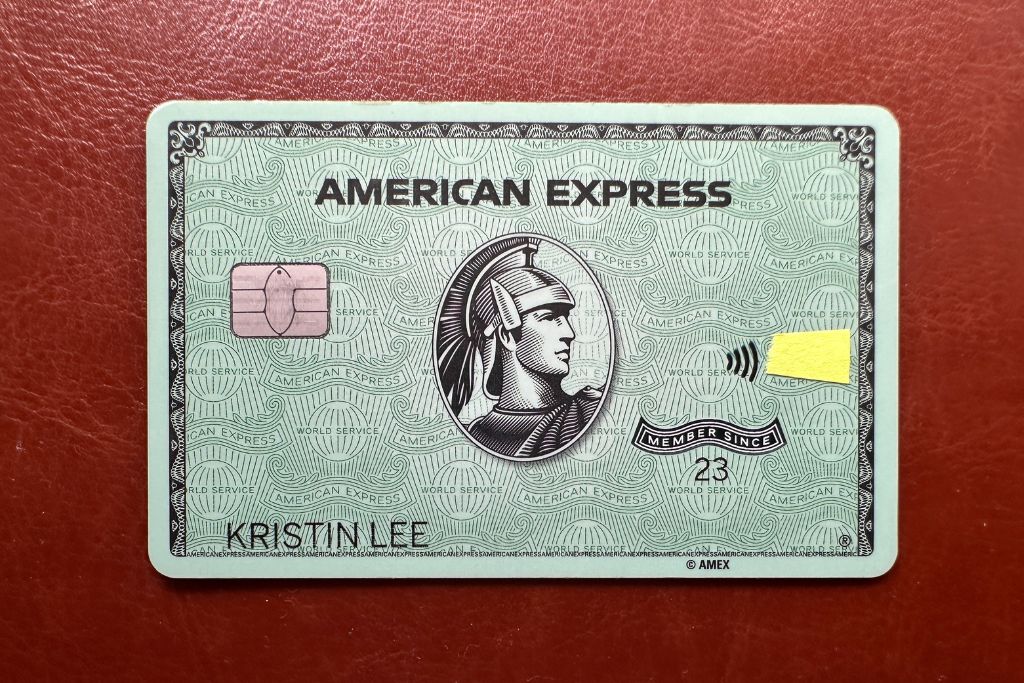
💳 PRO TIP: Hate waiting in lines? I highly recommend getting the American Express Green Card, which includes a $189 CLEAR Plus membership. This allows you to skip to the front of airport security lines and is a huge time saver!
22. Place Valuables in Personal Bag
One of the last things to do before heading to the airport is to make sure you put all your valuables in your personal bag. For example, I keep my laptop, wallet, phone, tablet, camera, chargers, and liquids bag in my personal backpack. Your personal bag is the safest spot for your valuables because it’ll likely never leave your sight.
23. Keep Your ID Handy but Safe
At the airport, you’re typically asked to present your ID and passport (if traveling internationally) at least three times. Two first-time flyers tips that will save time and help you be prepared are keeping your ID in an easily accessible location and a safe spot. What I mean by this is placing these important items in a pocket that is only accessible from within your personal bag. This way, you’ll always know where your ID and passport are and don’t have to awkwardly spend time in line rummaging around in your bag for your stuff.
Similarly, you don’t want to store anything of great value in a small pocket on the outside of your bag that can be easily opened by someone standing behind you. As someone who had her wallet stolen in Paris, always be vigilant of airport thieves and people trying to pickpocket.
What Should a Beginner Do at the Airport
24. Arrive Early
Finally, it’s time to head to the airport! Give yourself ample time to go through the airport process and security, especially if you’re flying out of a large airport. The general rule is to arrive 2 hours early if you’re flying domestically and 3 hours if you’re flying internationally.
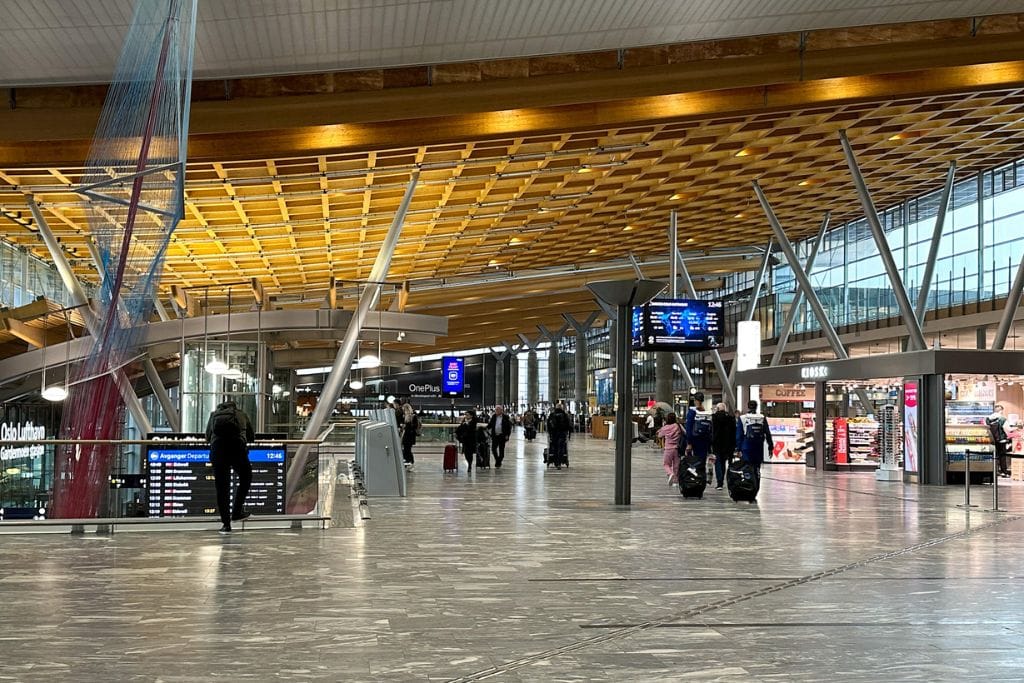
Upon arrival at the airport…
If you are checking in a large piece of luggage, look for the check-in counter that corresponds to the airline that you are flying with. Head over there so they can weigh your bag, check your passport and ticket, and check in your bag.
From there, or if you aren’t traveling with a checked bag, head in the direction of the airport security checkpoint. There are usually large signs indicating where to go, but when in doubt, just ask airport staff. They’re there to help you, so don’t be afraid! When you get to the security checkpoint, there’s always an agent checking your ticket and ID (or passport).
As mentioned before, TSA agents will ask you to remove any liquids and large electronics, such as a laptop or tablet, from your bags. You’ll also be asked to remove your shoes, belts, and hats. Pretty much remove everything until you just have a shirt, bottoms, and socks — or a single layer of clothes.
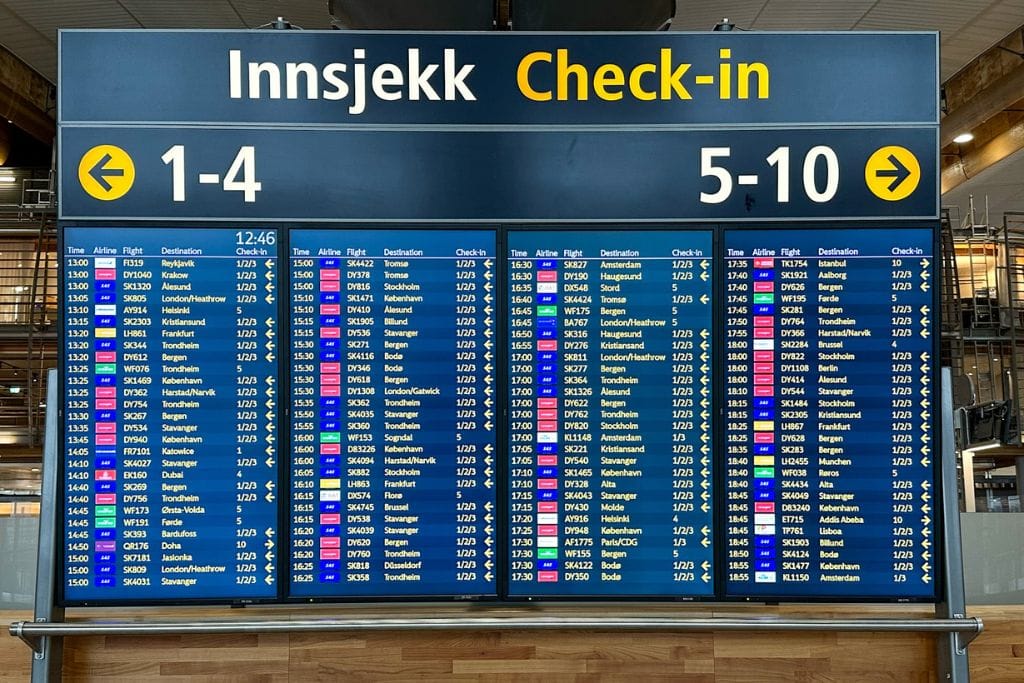
25. Check the Flight Departure Board
When you have gone through security and have all your items packed safely in your bags again, check the flight departure board. This will give you the most up-to-date information on your flight and tell you which gate to wait at. Afterward, just follow the signage to your gate and look for a water fountain to refill your water bottle! Once you’ve found your gate, frequently check your flight status. Sometimes, your gate number will change at the last minute. They’ll announce if this happens, but it’s easy to miss the announcement with all the noise.
✈️ NOTE: Make sure you know your flight number.
26. Use the restroom before boarding
About 20 minutes before boarding, I recommend going to the bathroom before boarding your flight. You want to avoid having to use the cramped bathroom on the plane, especially toward the end of a long flight. To put it lightly, they can become less than ideal after 50+ people have used them. Plus, you don’t want to have to disturb the other people in your row if they’re sleeping.
First Time Flyers Tips: How to Board the Plane
27. Listen for Announcements
Approximately an hour before your flight departure, start listening for boarding announcements. The exact time they begin boarding should be listed on your ticket, but depending on if there are any delays, this time may change.
28. Get Out Your Boarding Pass
When you start to hear announcements, this is a good time to get out your boarding pass and ID (or passport). Make sure you know your boarding group or zone number. Airport gate agents will start to call boarding groups or zones to the front. If you line up out of order, they’ll tell you to step aside or go to the back.
29. Carry-on bag in Overhead Bin
When you board the plane, set your personal item in your seat first before trying to put your carry-on bag in the overhead bin. This will hopefully prevent you from accidentally bumping into the people around you with your personal bag. Afterward, store your carry-on bag in a manner that takes up the least amount of space. This usually means wheels first and making sure the upright handle faces you.
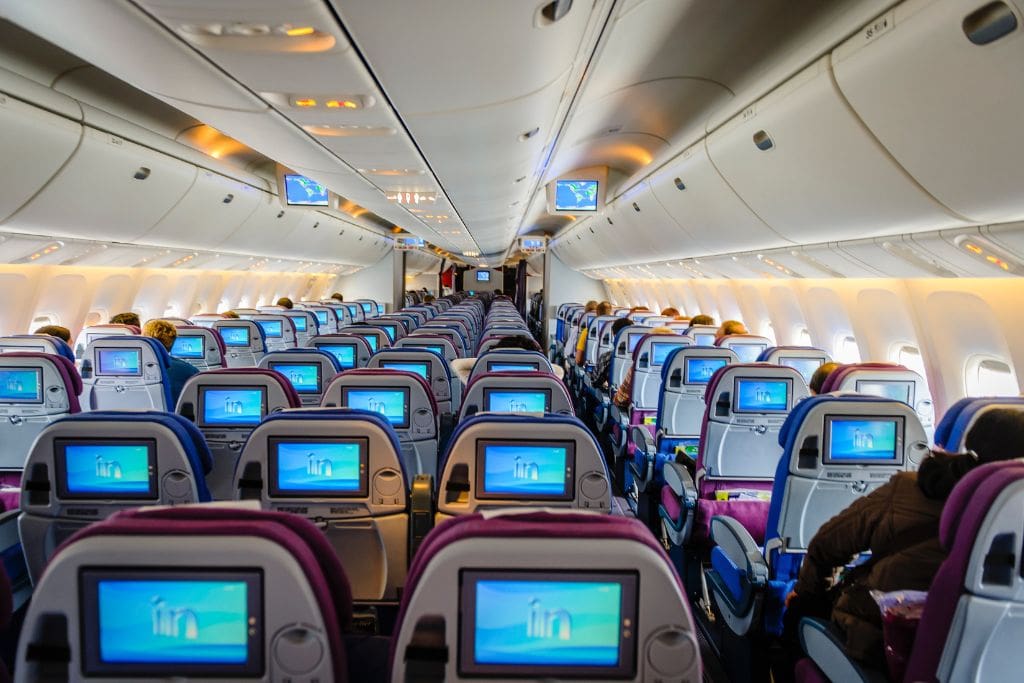
30. Personal Bag Under Seat
Once you’ve taken care of your carry-on bag, place your personal bag under the seat in front of you. Sometimes people bring a purse and a small backpack as their “one” personal item. If you do, make sure both of them fit underneath the seat in front. You don’t want anything loose in your lap during take-off because it’s a safety hazard.
31. Phone on Airplane Mode
After the doors close and the plane begins to move, put your phone in airplane mode. This is done as a safety precaution since our phones emit electronic signals that interfere with the plane. Furthermore, airplane mode helps to save your phone’s battery life, which is always a good thing! From there, follow the instructions of your flight crew as they explain all the safety measures in place.
32. Proper Airport and Travel Etiquette
As a general reminder, throughout the entire airport process, it’s important to be respectful of other people’s spaces. Everyone is feeling all kinds of emotions, so just be mindful of people’s personal space bubbles. Share the armrests and try to keep your body parts contained in your seat space. For anyone with long hair, make sure your hair doesn’t block the screen on the back of your chair. Essentially, just be courteous and kind.
What to Expect Flying for the First Time
Aside from what I’ve already mentioned, there are a couple of things you can expect during take-off and your actual flight… When the doors close, the cabin crew will walk the aisle closing overhead bins, checking everything is stored away properly, and making sure passenger seatbelts are buckled. The pilot and co-pilot will simultaneously introduce themselves and give you some general flight information.
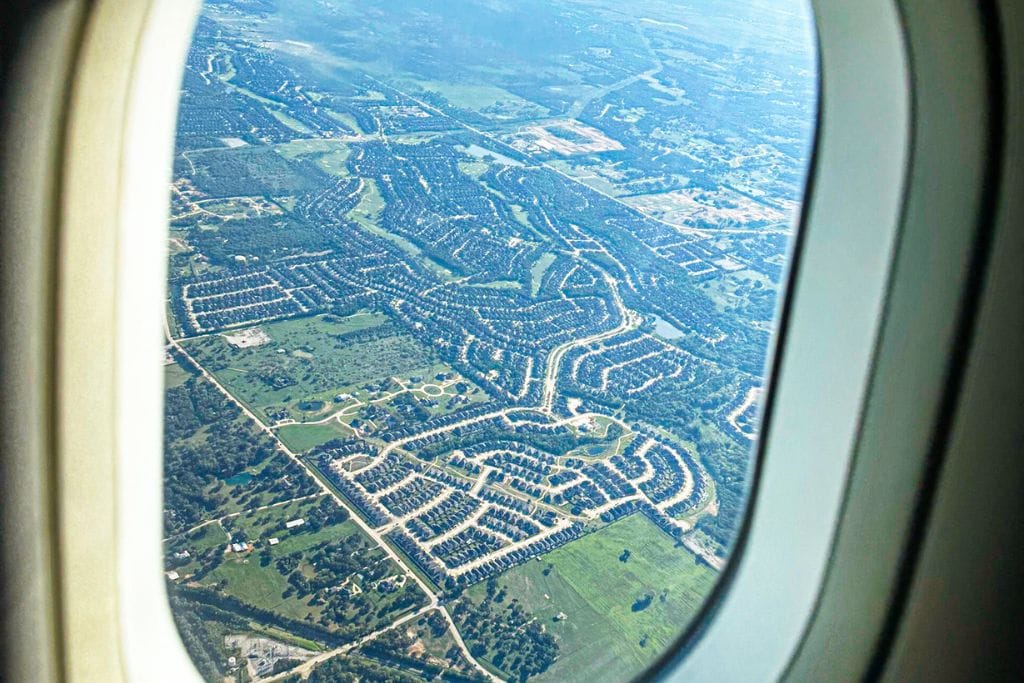
Time for Take-off
Then, as the plane heads towards the runway, the plane will turn off any main lights and eventually announce, “Prepare for take-off.” When this happens, there’s usually a loud rumble from the engines firing up. After a few moments, the plane will rapidly accelerate and begin to lift into the air. Your ears may become plugged, and you might feel slightly pushed back into your seat.
Cruising Altitude
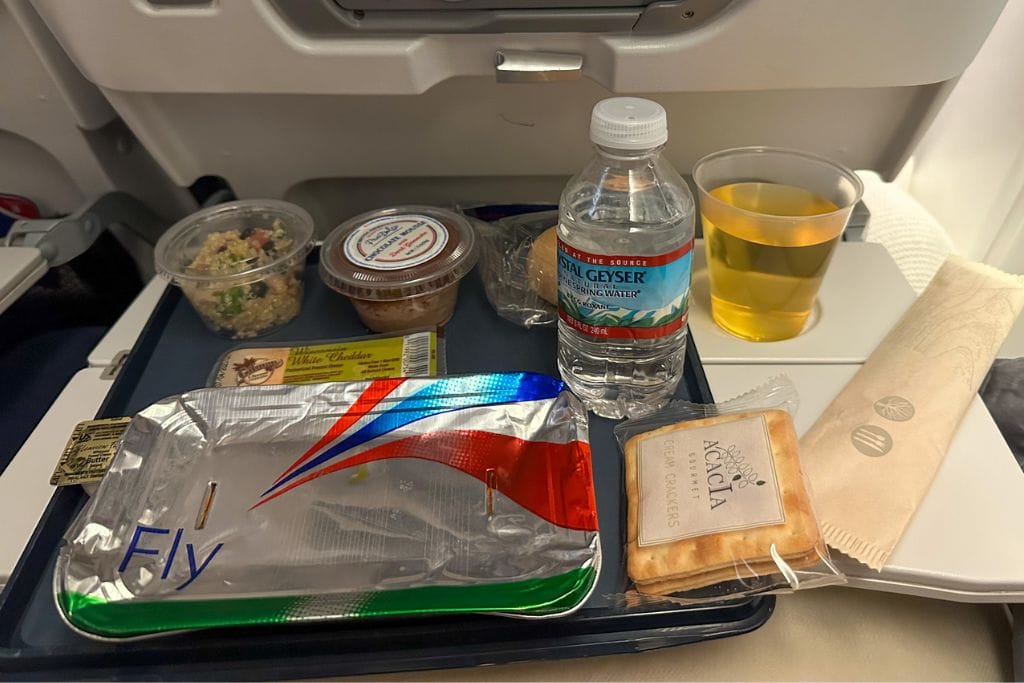
When the plane reaches its cruising altitude, the pilot will make a few announcements, and shortly thereafter, cabin crew attendants will begin offering drinks and a small snack. Depending on how long your flight is, you may receive a meal or two. The general rule is that if you’re on a long-haul flight (6 or more hours), a meal is included. If you have any dietary restrictions, be sure to make a meal request in your flight portal on the airline’s website beforehand. This will give the airline time to prepare you a special meal.
Another thing to note is that there may be light or even a decent amount of turbulence during the flight. This is 100% normal and happens on nearly every flight. The turbulence is caused by the plane encountering strong, irregular wind currents. Do your best to remain calm and make sure your seat belt is buckled.
Prepare for Landing
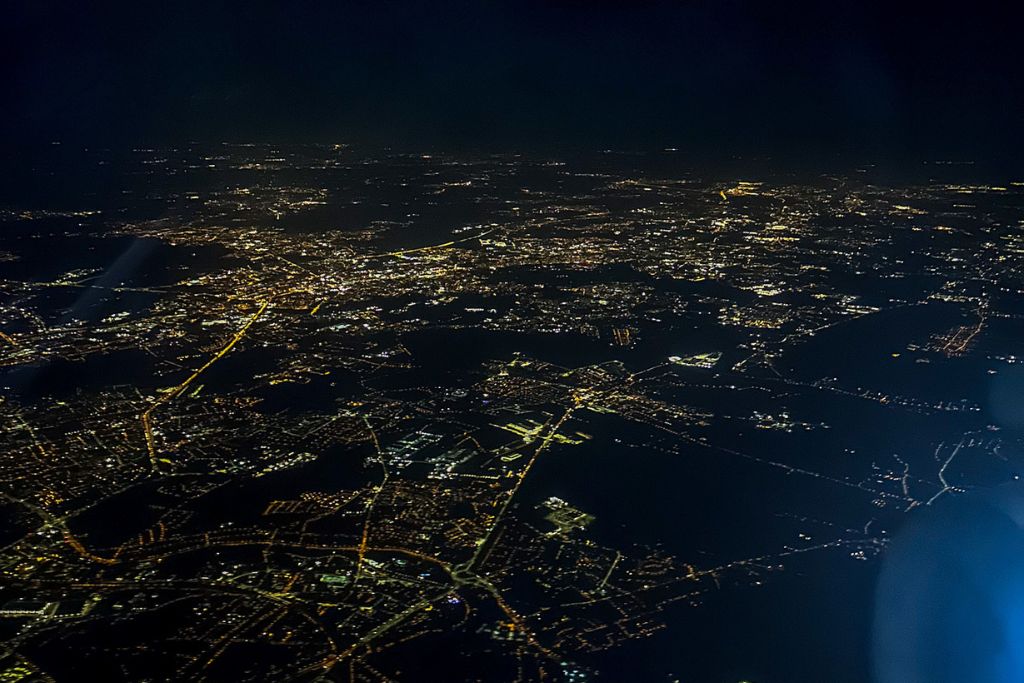
About 45 minutes before the plane lands, the pilot typically announces to, “prepare for landing.” At this time, you put your seats back in their upright position, fold up your trays, and store away any large electronics. In terms of feelings, there may be occasional but short stomach drop moments during the plane’s descent. Also, your ears may become plugged again.
As the plane lands, the plane may skip along the runway and shake a little bit. However, this should only last for a few seconds as the plane will rapidly decelerate. Upon landing, the plane will slowly make its way to your arrival gate.
Is Flying for the First Time Scary?
Unfortunately, the answer to this question completely depends on the type of person you are. Some people find the experience to be thrilling as they think of where they’re headed, while others hate the concept of flying in a metal tube.
I will say that even after visiting 30+ countries and taking 70+ flights, I still get anxious about going through the airport process. I hate being yelled at or accidentally doing something wrong, so it can be stressful navigating an airport in a foreign country. That said, I don’t think the physical act of flying is scary. The one thing to know is that you’ll likely be feeling all kinds of emotions and however you feel is totally okay.
5 Tips for First-Time Flyers With Anxiety
If you are feeling especially anxious, here are 5 first-time flyers tips to cope with the anxiety.
33. Simple Reminders
When you start to panic or feel stressed, try to remind yourself of simple facts. For example, the pilots are incredibly well-trained and quite literally have gone through over ten thousand hours of training. If something unexpected happens, they are trained to assess the situation and respond appropriately.
Similarly, the plane itself and its equipment are regularly inspected. You have no reason not to trust the equipment. Finally, remind yourself that flying is the safest mode of transportation. You are safer in the hands of these amazing pilots than driving to the grocery store in your car or traveling by public transportation.
34. Listen to Music
As I mentioned earlier, one way I like to calm myself during flights is by listening to music. Blocking out the external noises on the plane with some noise-canceling headphones is a powerful tool to distract your mind. Escape into the world of music and focus on the lyrics of a song instead of your surrounding environment.
35. Read a Book
Alternatively, I also recommend listening to an audiobook or reading a physical book. Both of these things can distract your mind by getting you to think about the information at hand rather than where you presently are.
36. Talk with your Neighbor
If you would rather not be alone with your thoughts, try striking up a conversation with your seat neighbor. Focus on them instead of yourself and what’s going on in your head. Plus, you already know that you have at least one thing in common with them: you’re both headed to the same destination! Ask them why they’re flying there or where their final destination is if they are connecting to another flight.
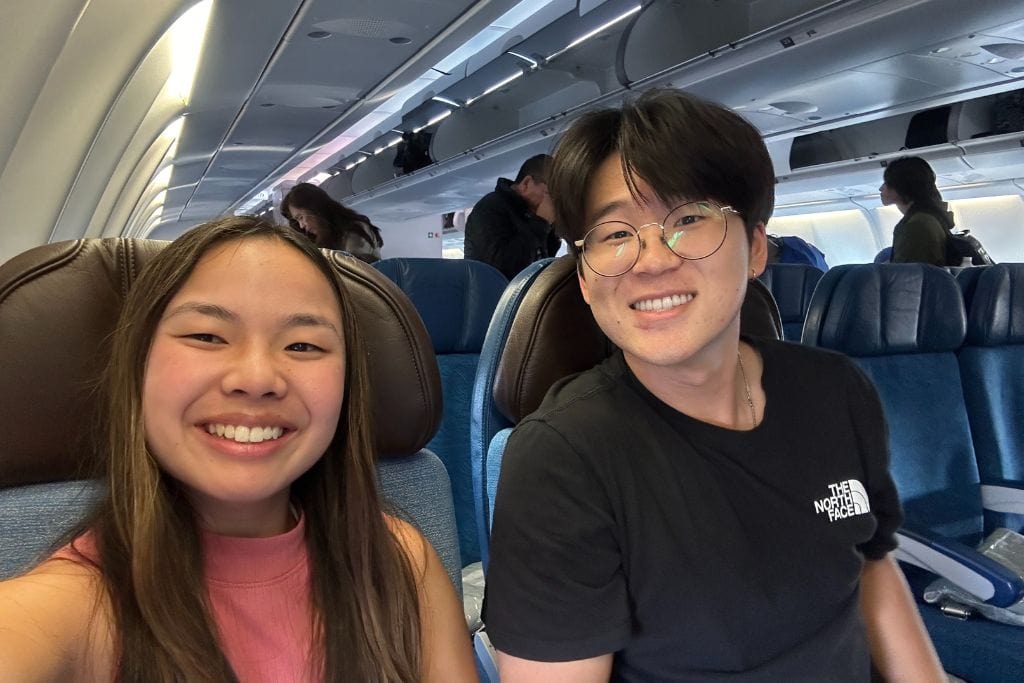
Nine times out of 10, people love talking about themselves, and if you put yourself out there, you give yourself the chance to connect with so many wonderful people. This is how I found out I went to college and was good friends with the brother of my row buddy!
37. Ask for Help
If you feel sick or like you can’t control your anxiety, don’t hesitate to ask for help. People are often good and want to see you doing well. Remember, the flight attendants are trained to support you in any way they can and have likely assisted lots of passengers who have anxiety flying. You can trust them to support you if you find yourself panicking or struggling.
What to Do When the Plane Lands
After the plane safely lands and starts heading to your arrival gate, the pilot will make some final announcements about your arrival destination. These are a few tips everyone should remember, not just first-time flyers.
38. Remain Seated
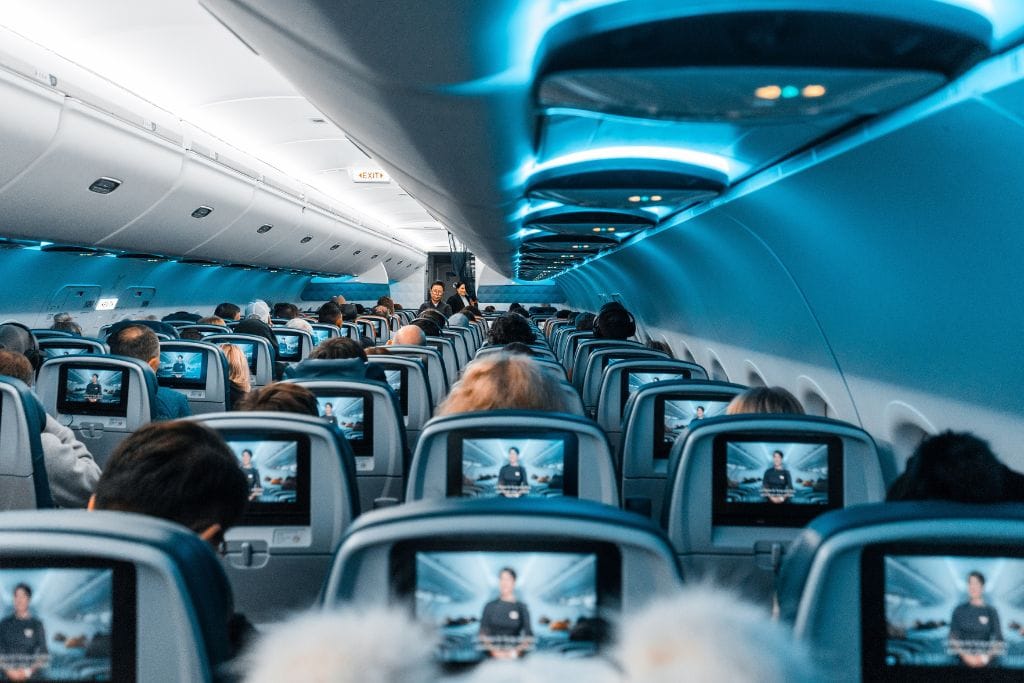
When the plane reaches your arrival gate, the seat belt sign will turn off, indicating it’s safe to unbuckle your seat belt. As this happens, I urge you to remain seated. You’ll likely see lots of people around you immediately standing up and starting to retrieve their carry-on bags from the overhead bins. Please don’t do this. It slows down the deplaning process, and you will likely be told to sit down by the flight crew. During this waiting period, airport grounds staff are safely attaching the plane to the tunnel that connects the plane to the airport.
39. Turn off Airplane Mode only if…
While you wait, you can turn off airplane mode on your phone if you’re traveling domestically. In the event you’re traveling internationally, I recommend waiting until you can switch to stable wifi before turning off airplane mode. The reason is that your phone will immediately begin searching for signal and wifi networks to connect to. As it does this, it uses up cellular data.
If you’re in a foreign country, there’s a good chance you’ll be charged extra for using data abroad. For example, I know that my phone plan charges $40 per day if I use any cellular data internationally. This obviously can become expensive quickly, so exercise caution.
There are only two times I recommend turning off airplane mode while you’re sitting on the plane in a foreign country. First, if you know your phone plan includes international data or you can afford international data with your cellular plan. The second case is if you have obtained a special Esim card meant for the foreign country or countries you’re visiting.
☎️ Need an ESIM? I highly recommend Airalo. This is the company I’ve used for my last 4 international trips to Canada, Europe, and Asia. They were the first ESIM company, always have the best prices, and make the installation very easy. Use code: ‘KRISTI7012‘ for an extra $3 off.
40. Wait to Grab Your Bags
Normally, the flight crew doesn’t make any announcements over the loudspeaker about when to start grabbing your bags. Instead, they just inform the first couple of rows when it’s okay. From there, the immediate row behind the front few will follow suit and slowly retrieve their bags. This process continues until the back of the plane.
I suggest waiting until it’s your row’s turn to exit the plane to retrieve your bag. If you try and get it earlier, you run the risk of accidentally bumping someone with your bag. Just try to be patient and remember to be especially aware of your surroundings. I’ve seen bags fall on passenger’s heads and the outcome was brutal.
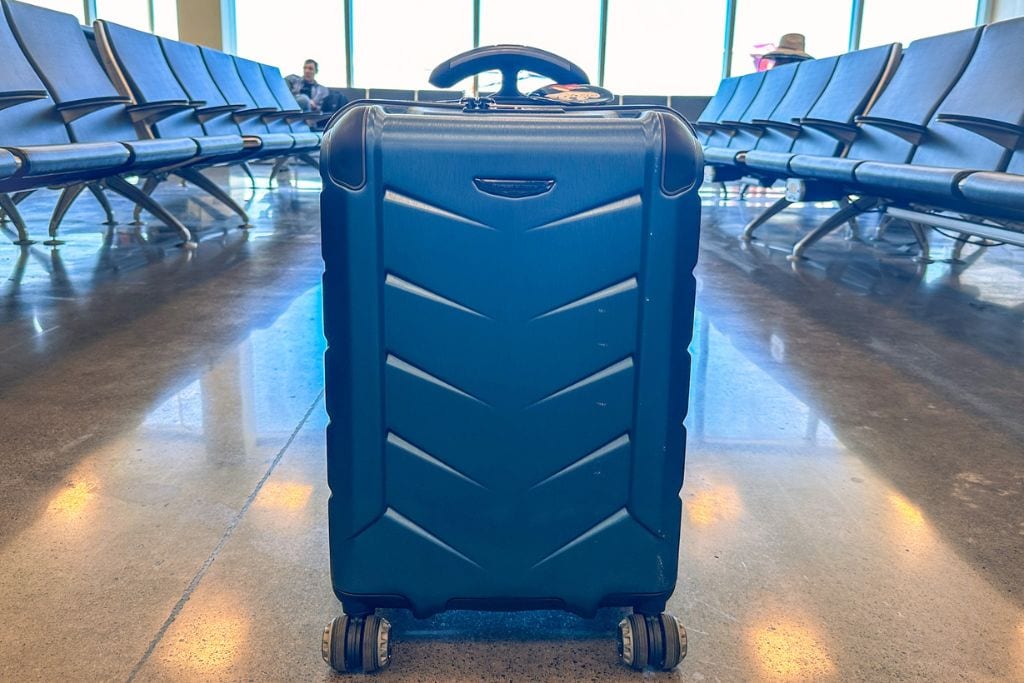
41. Know Where to Go
After exiting the plane, you might be unsure where to go. Don’t worry, I’ve been there as well. Here are a few first time flyers tips to help guide you. First, when in doubt, refer to your trip itinerary to see which of the following situations applies to you.
Connecting Flight
For connecting flights, look at a nearby flight departure board to figure out which gate you need to head to next. If your flight was delayed or you aren’t sure which direction to go, ask airport staff for help. Again, they’re there to help you, so remember to be kind and patient!
✈️ NOTE: In the event you’re crossing international borders, such as flying from the US, connecting in Canada, and flying to Paris, you may have to go through another security checkpoint.
Domestic Flights
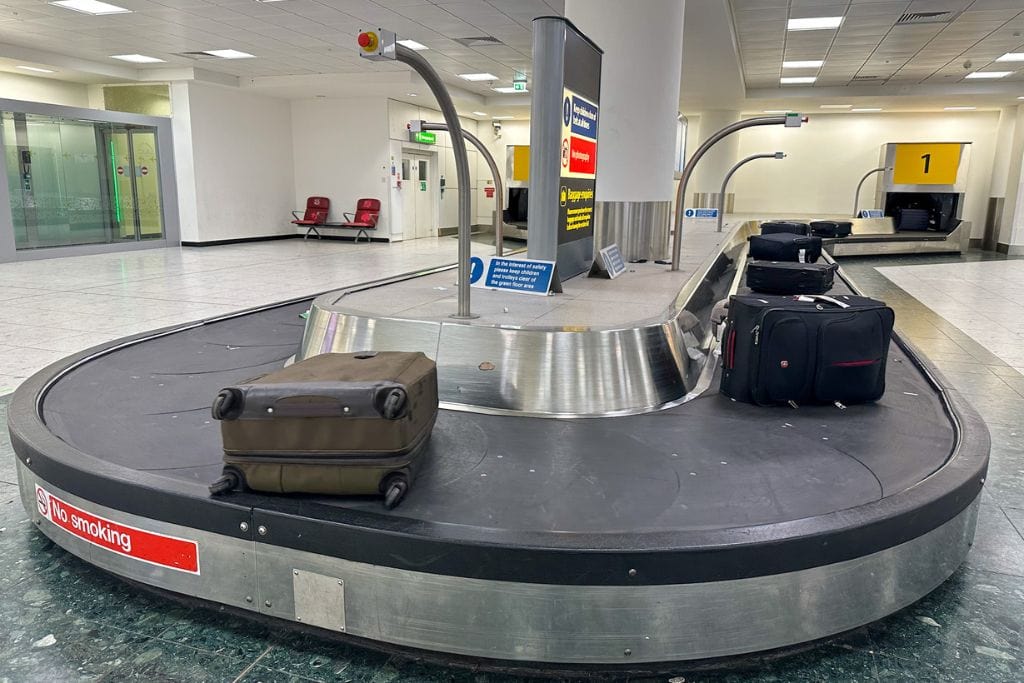
If you have flown domestically and are at your final destination, follow the signs to baggage claim to pick up your checked luggage. There is often a sign that reads flight numbers and indicates which conveyor belt corresponds to which flight. After you pick up your checked bag, or if you don’t have one, you’re all set to leave the airport!
International Flights
If you’re on an international flight, you’ll have to go through immigration and customs before reaching baggage claim. Immigration and customs vary slightly from country to country, but this is how they both generally work.
Immigration concerns people moving between countries. An immigration officer checks your passport, asks a couple of questions concerning the details of your trip, and may ask you to fill out some forms. Think of it as a mini-interview with an extremely high chance of being successful.
Contrastingly, customs is all about the items you’re transporting. You’ll state what you’ve brought into the country and answer a few questions. Depending on the country’s rules, you’ll be able to carry on your merry way, or customs officers may ask you to fill out additional forms to declare some goods.
Upon completing immigration and customs, you can head over to the baggage claim area to retrieve your checked luggage. Afterward, or if you didn’t check any luggage, breathe a sigh of relief that you made it and can finally exit the airport! YAY!
Wrap-Up: First Time Flyers Tips (2024)
Figuring out the whole airport process can be overwhelming and scary at times, but with my abundance of first-time flyers tips, you will hopefully be able to fly with confidence. Remember that you got this and success favors the prepared. When in doubt, simply ask for help because that’s what airport staff is there for. With that, I wish you a smooth airport journey and safe travels!
Need More Travel Resources?
Head over to my dedicated Travel Resources Page! You can view all my favorite places to book everything from housing and transportation to activities and ESIM cards! It’s also where you’ll find my ultimate packing list that’s great to use as a comprehensive guide on what to bring on your next global travel escapade!
As always, feel free to reach out to me if you have any questions or need guidance on your upcoming travels! I promise I’m friendly! 🤠
